WebSocket Plugin Data Upload Walkthrough
In this tutorial, we show how to upload data collected from south devices to a WebSocket server using the Neuron WebSocket plugin.
Tutorial Setup
We use two PCs connected to a local area network in this tutorial.
- One is a Linux machine with Neuron installed
- One is a Linux machine with a WebSocket server. Consult the the installation instruction on how to install Neuron.
| PC 1 | PC 2 | |
|---|---|---|
| Operating System | Linux | Linux |
| IP address | 192.168.1.152 | 192.168.1.107 |
| Software | Neuron | Python 3.7 |
| Network | Connected | Connected |
For this demonstration, you'll need a WebSocket server that communicates using the WebSocket protocol. You have the flexibility to choose any server software that supports WebSocket. To keep things straightforward, we'll use a simple Python program in this tutorial. The Python server program requires Python version 3.7 or higher and relies on the websockets package for implementation.
Run the following command to install the dependencies.
$ pip install websocketsConfigure WebSocket Server
Following is our python server program, it listens at TCP port 8000.
#!/usr/bin/env python

import asyncio
import websockets

async def echo(websocket):
    async for message in websocket:
        print(message)

async def main():
    async with websockets.serve(echo, "0.0.0.0", 8000):
        await asyncio.Future()  # run forever

asyncio.run(main())
Start the server program:
$ python websockets.pyConfigure Neuron
South devices
We need some south devices to collect data from. Any Neuron southbound plugin will do for this tutorial, for example, the Modbus TCP plugin. In this tutorial, we will use the File plugin to create south devices collecting data from local files. This makes things simple since we don't need an actual device and we can fake tag data by just modifying file contents.
Add the file Node
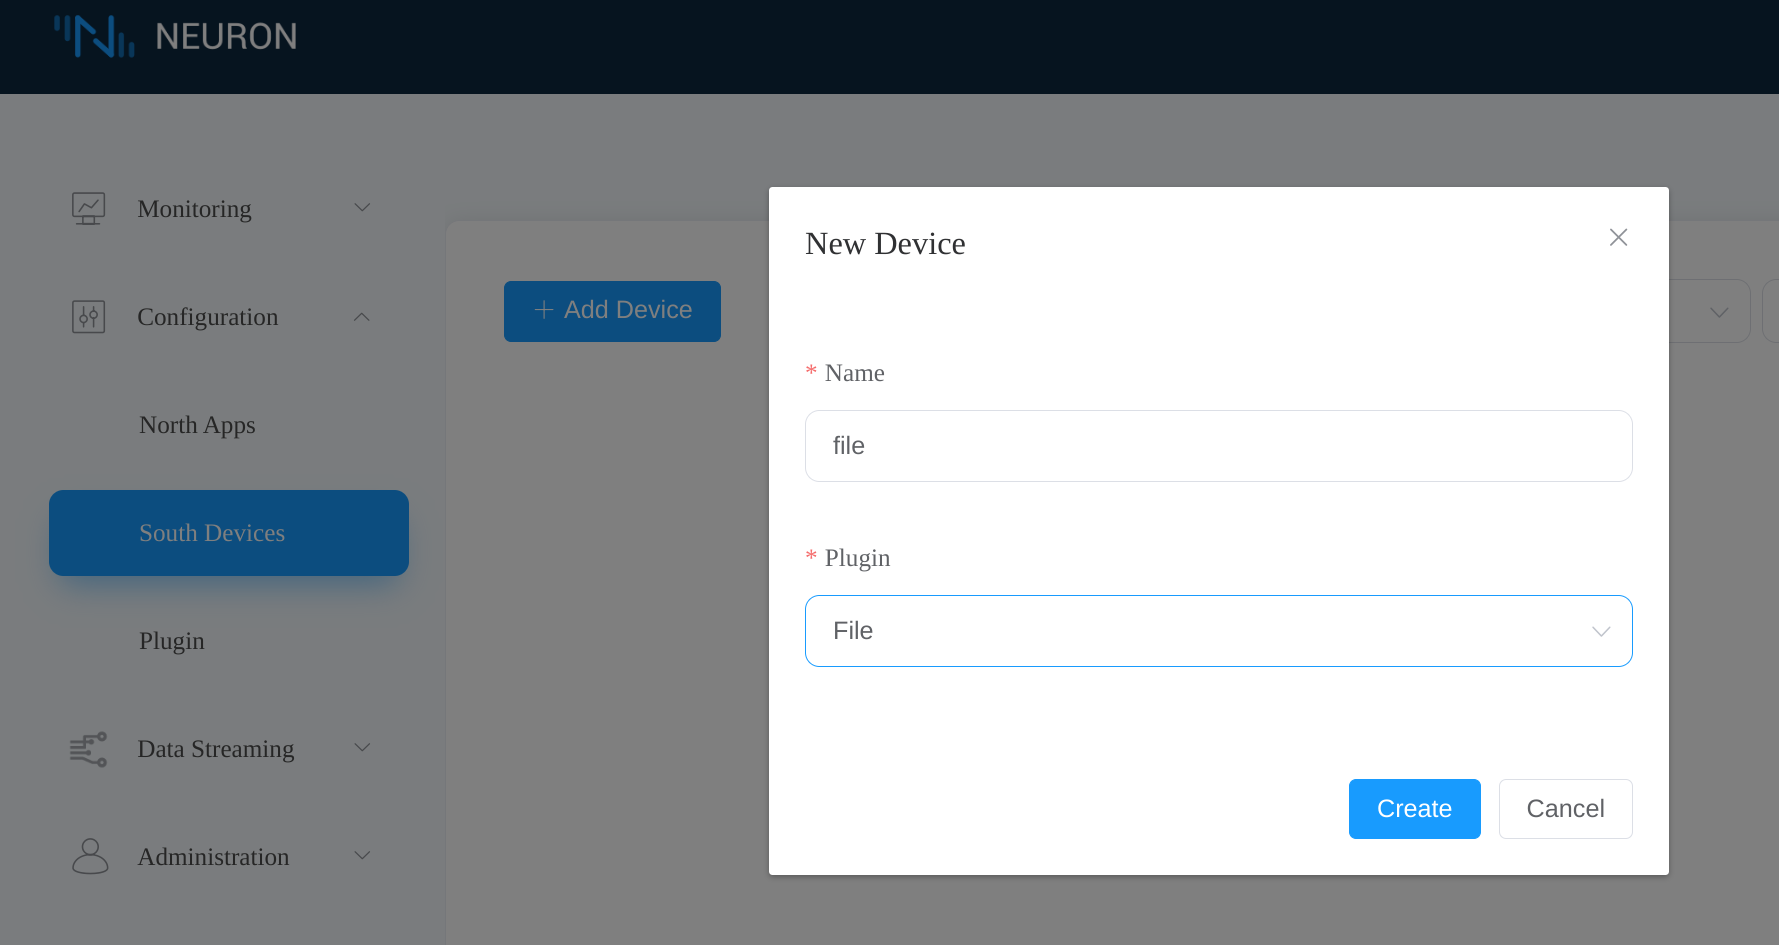
In the Neuron dashboard, click Configuration -> South Devices -> Add Device to add a node using the File plugin.
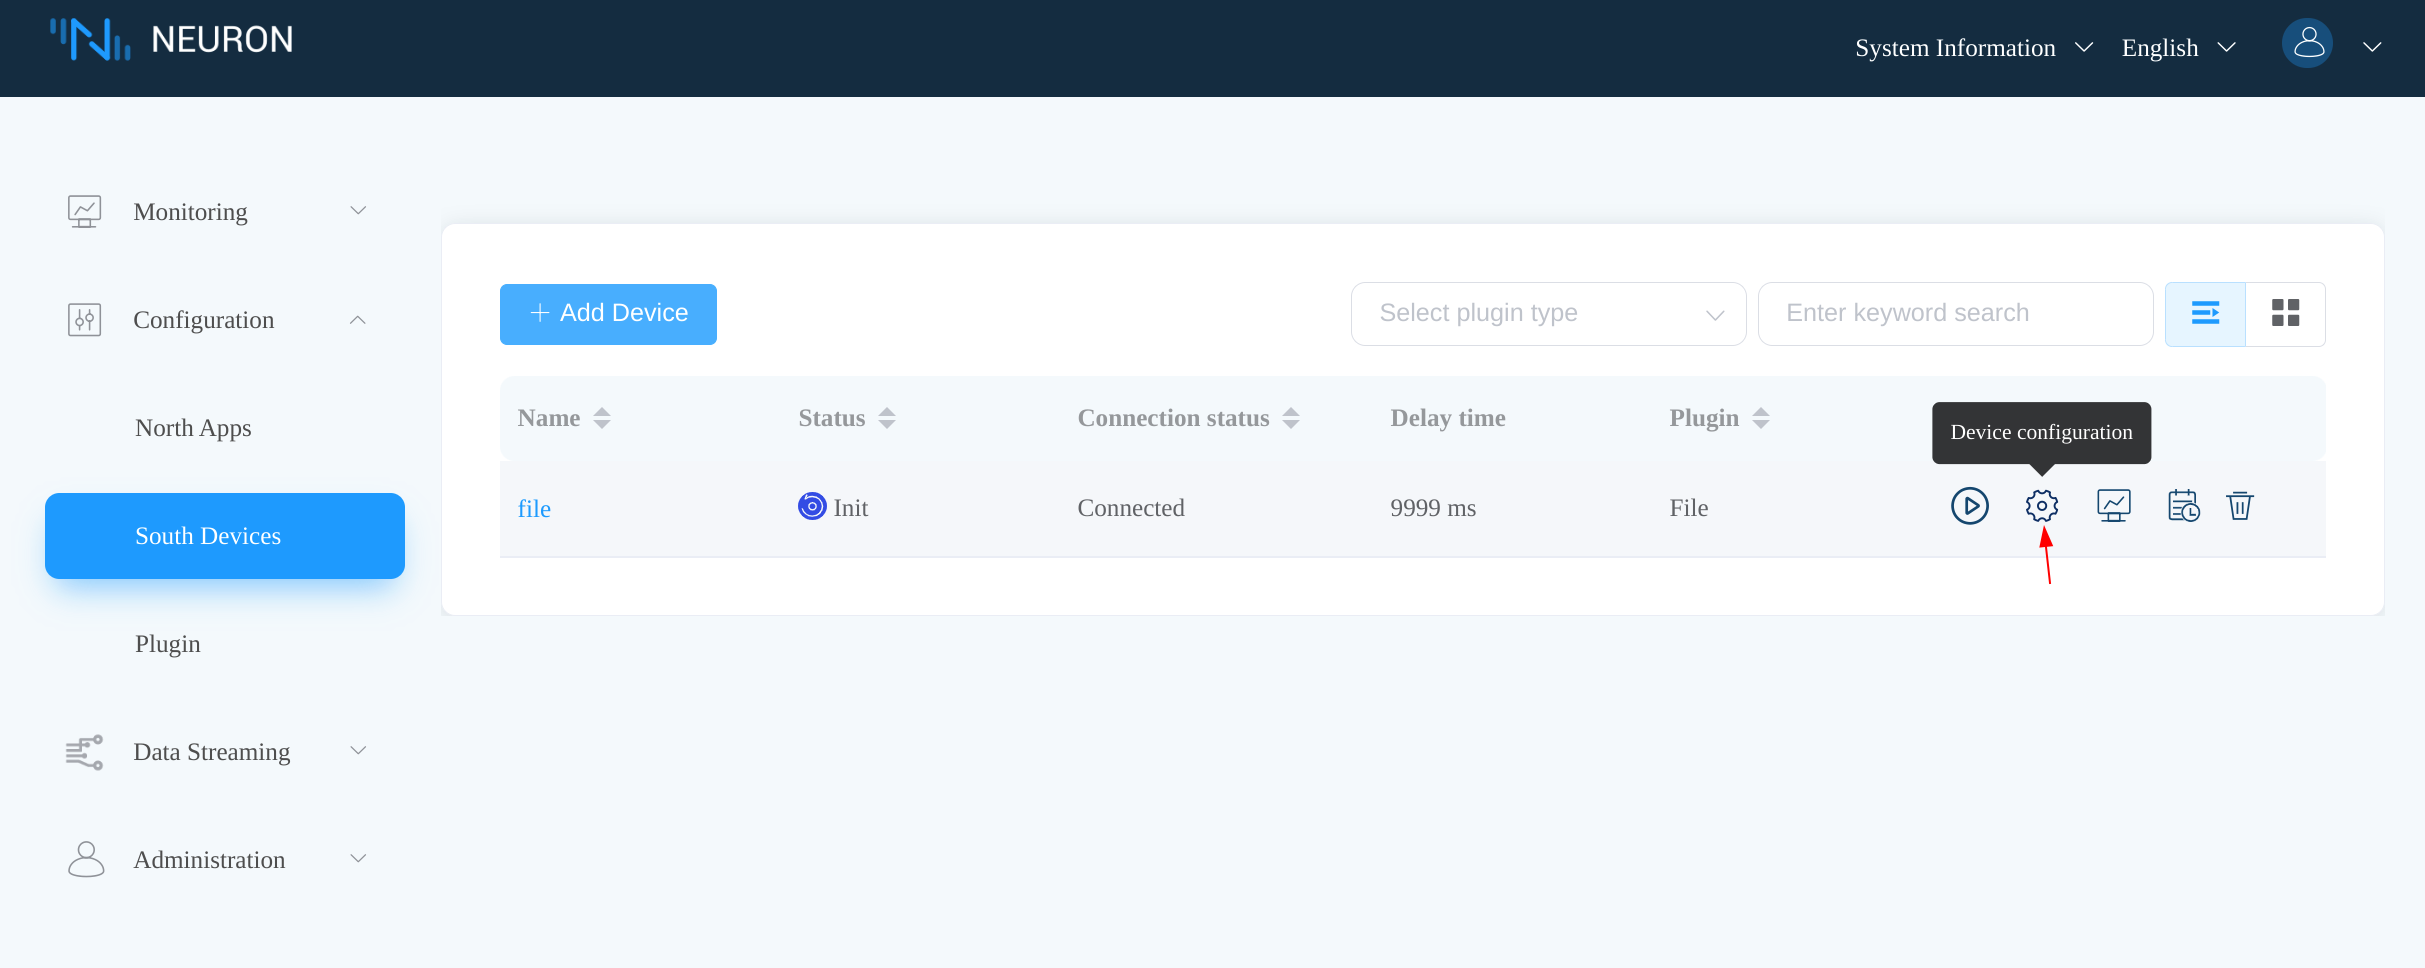
Click the Device configuration icon to configure the file node.
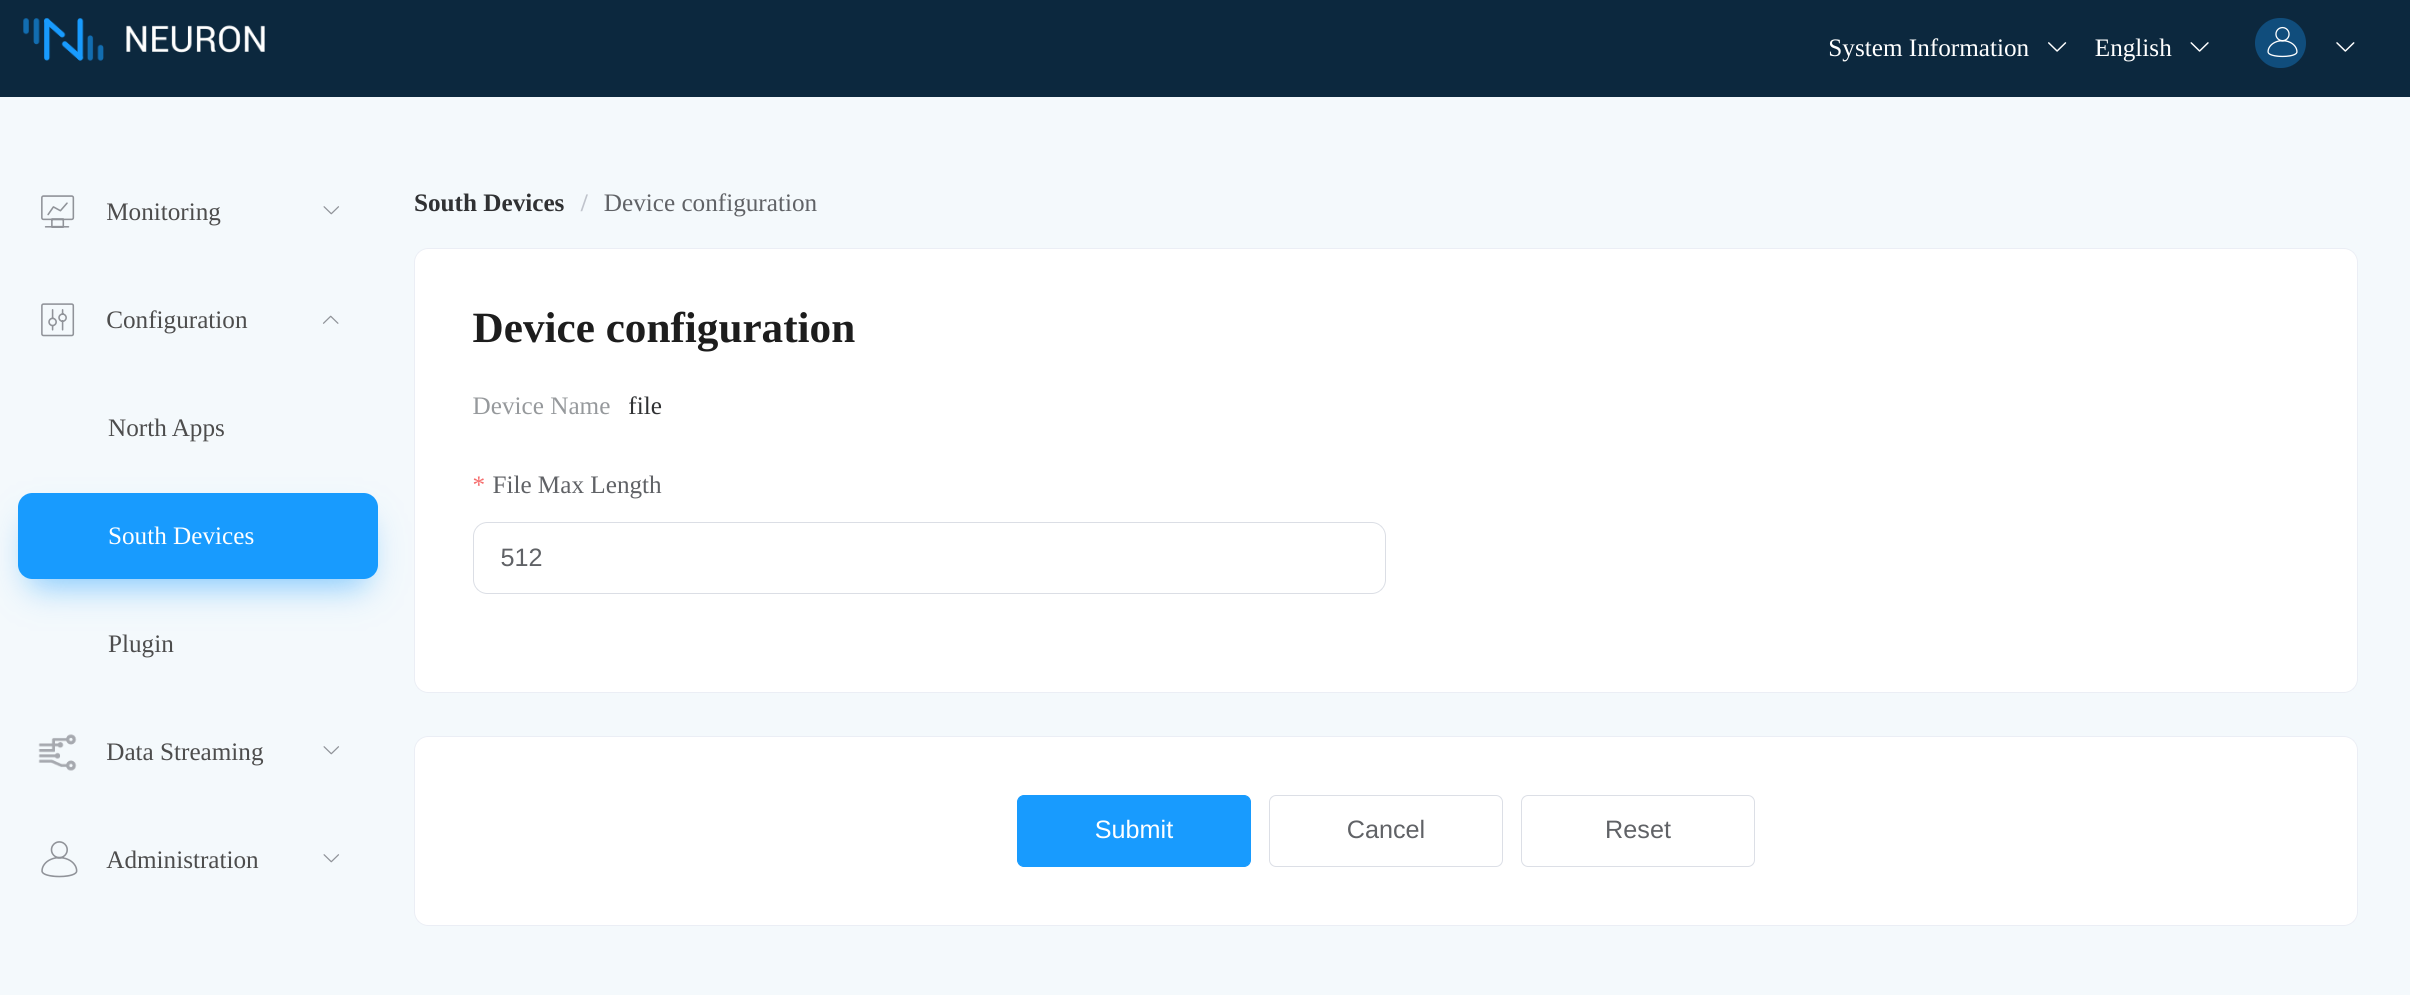
Click Submit to keep the default settings.
Create a Group
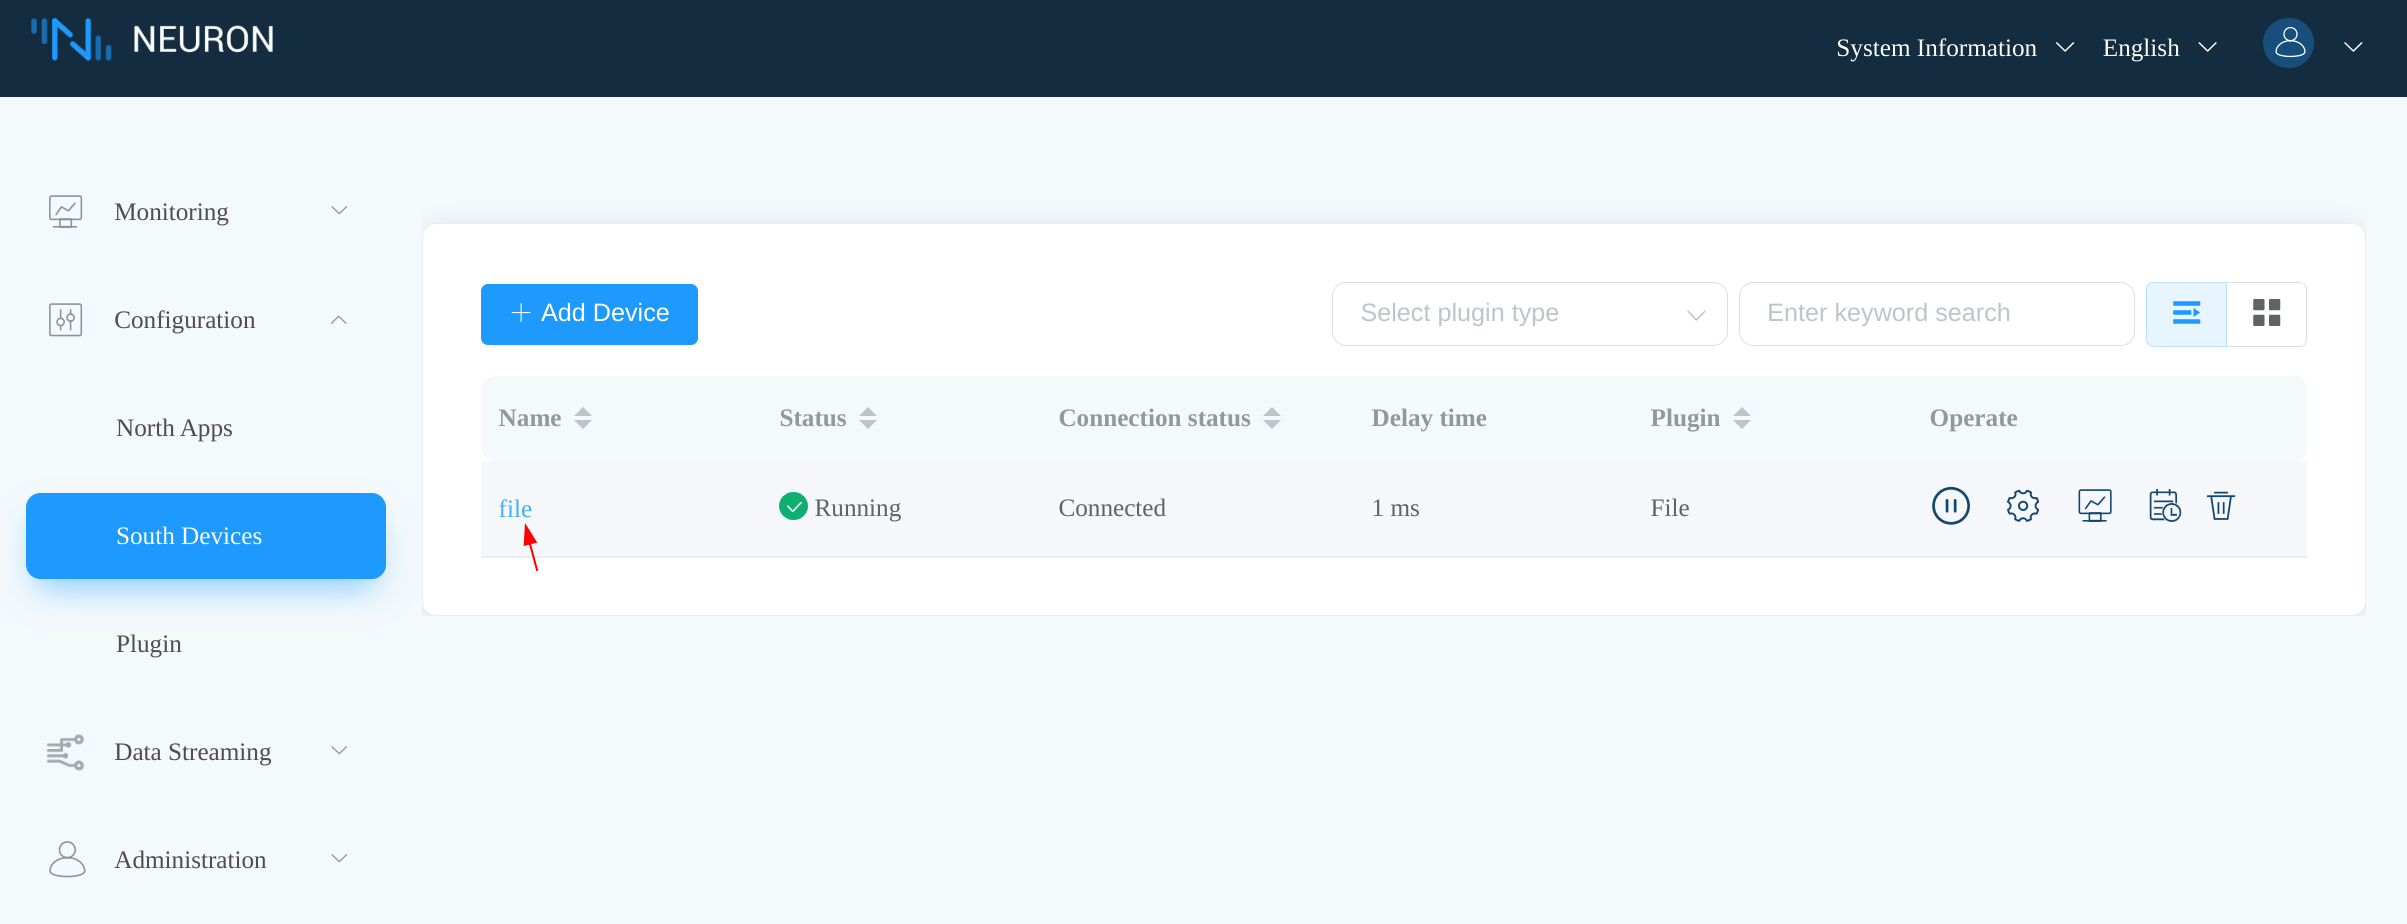
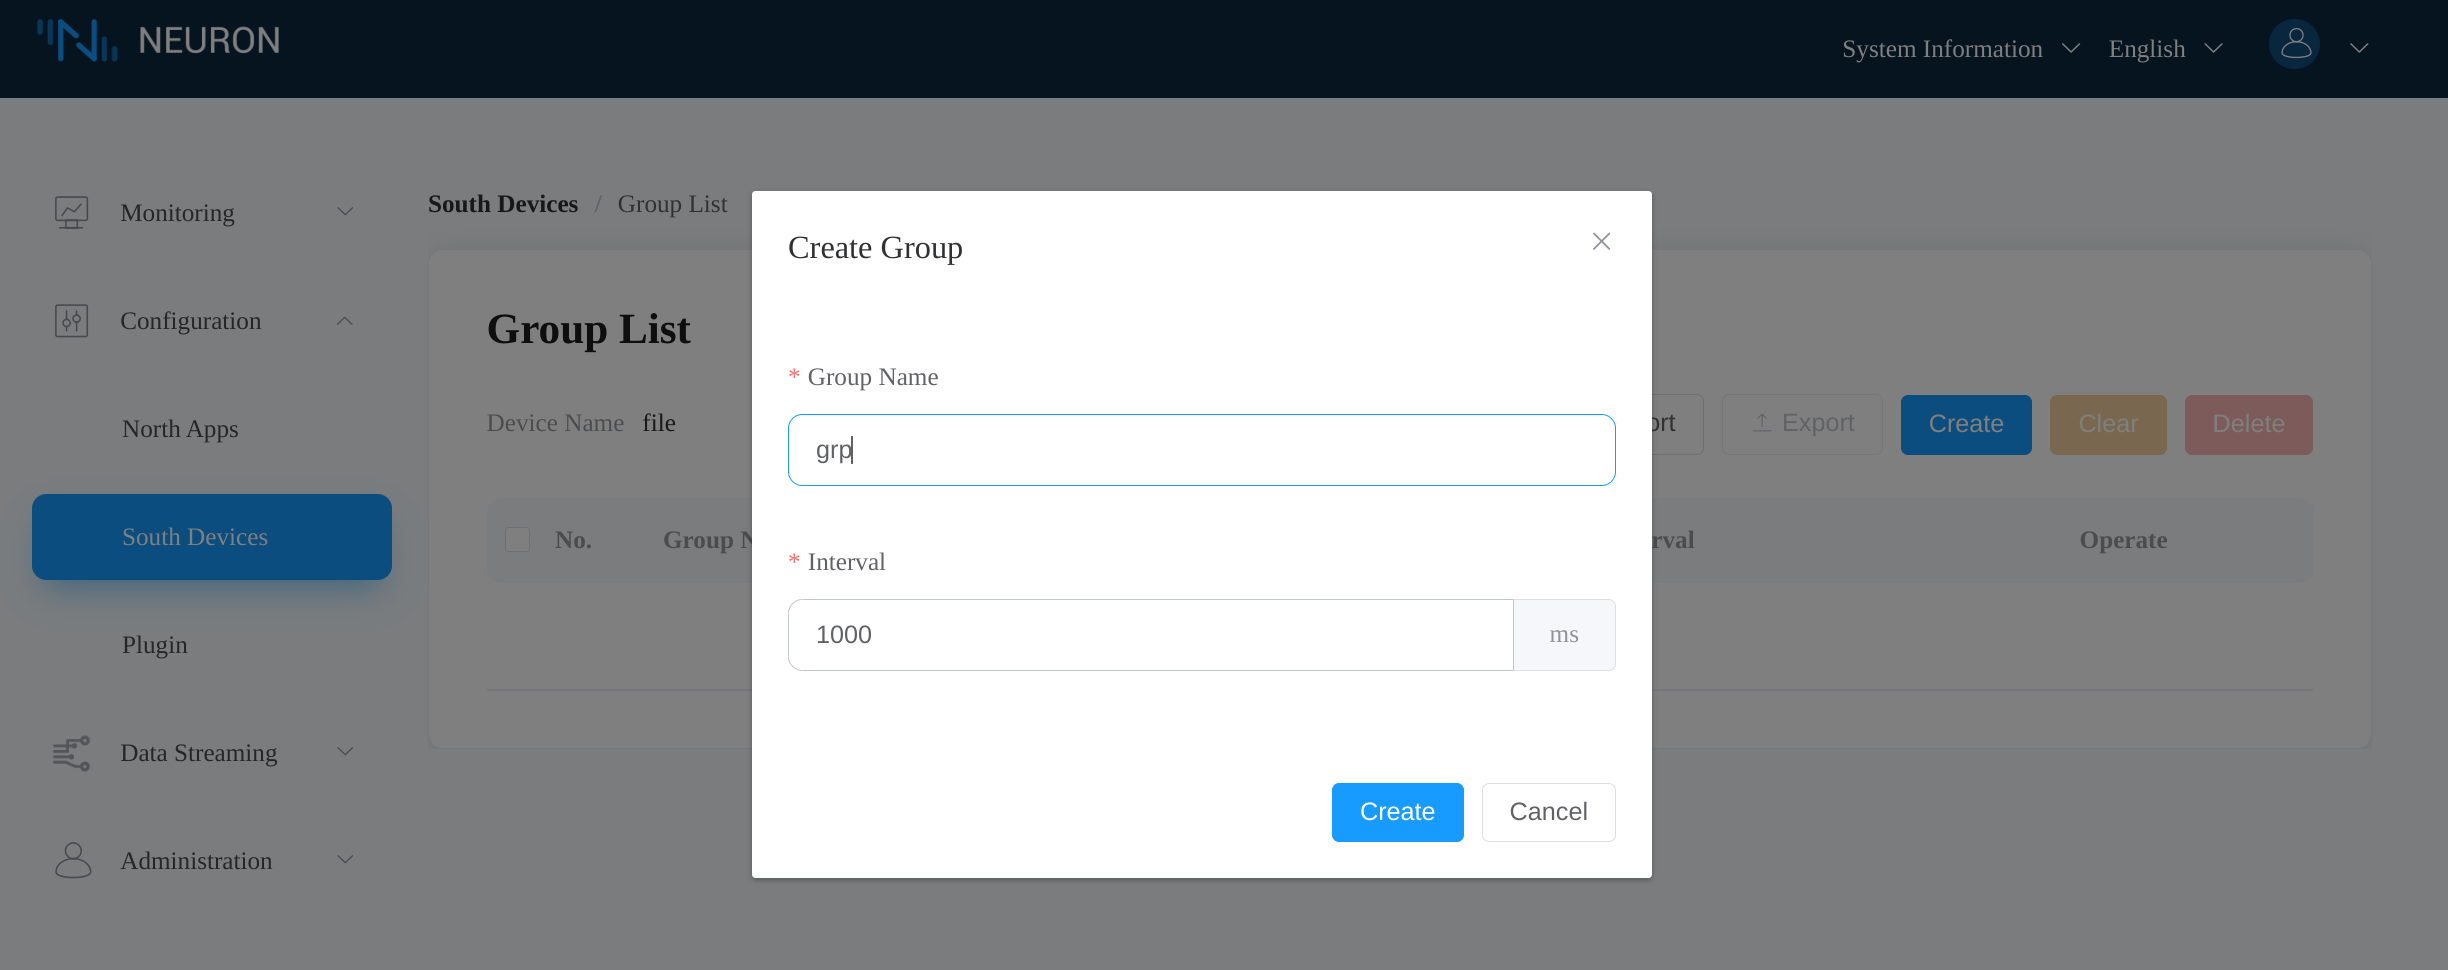
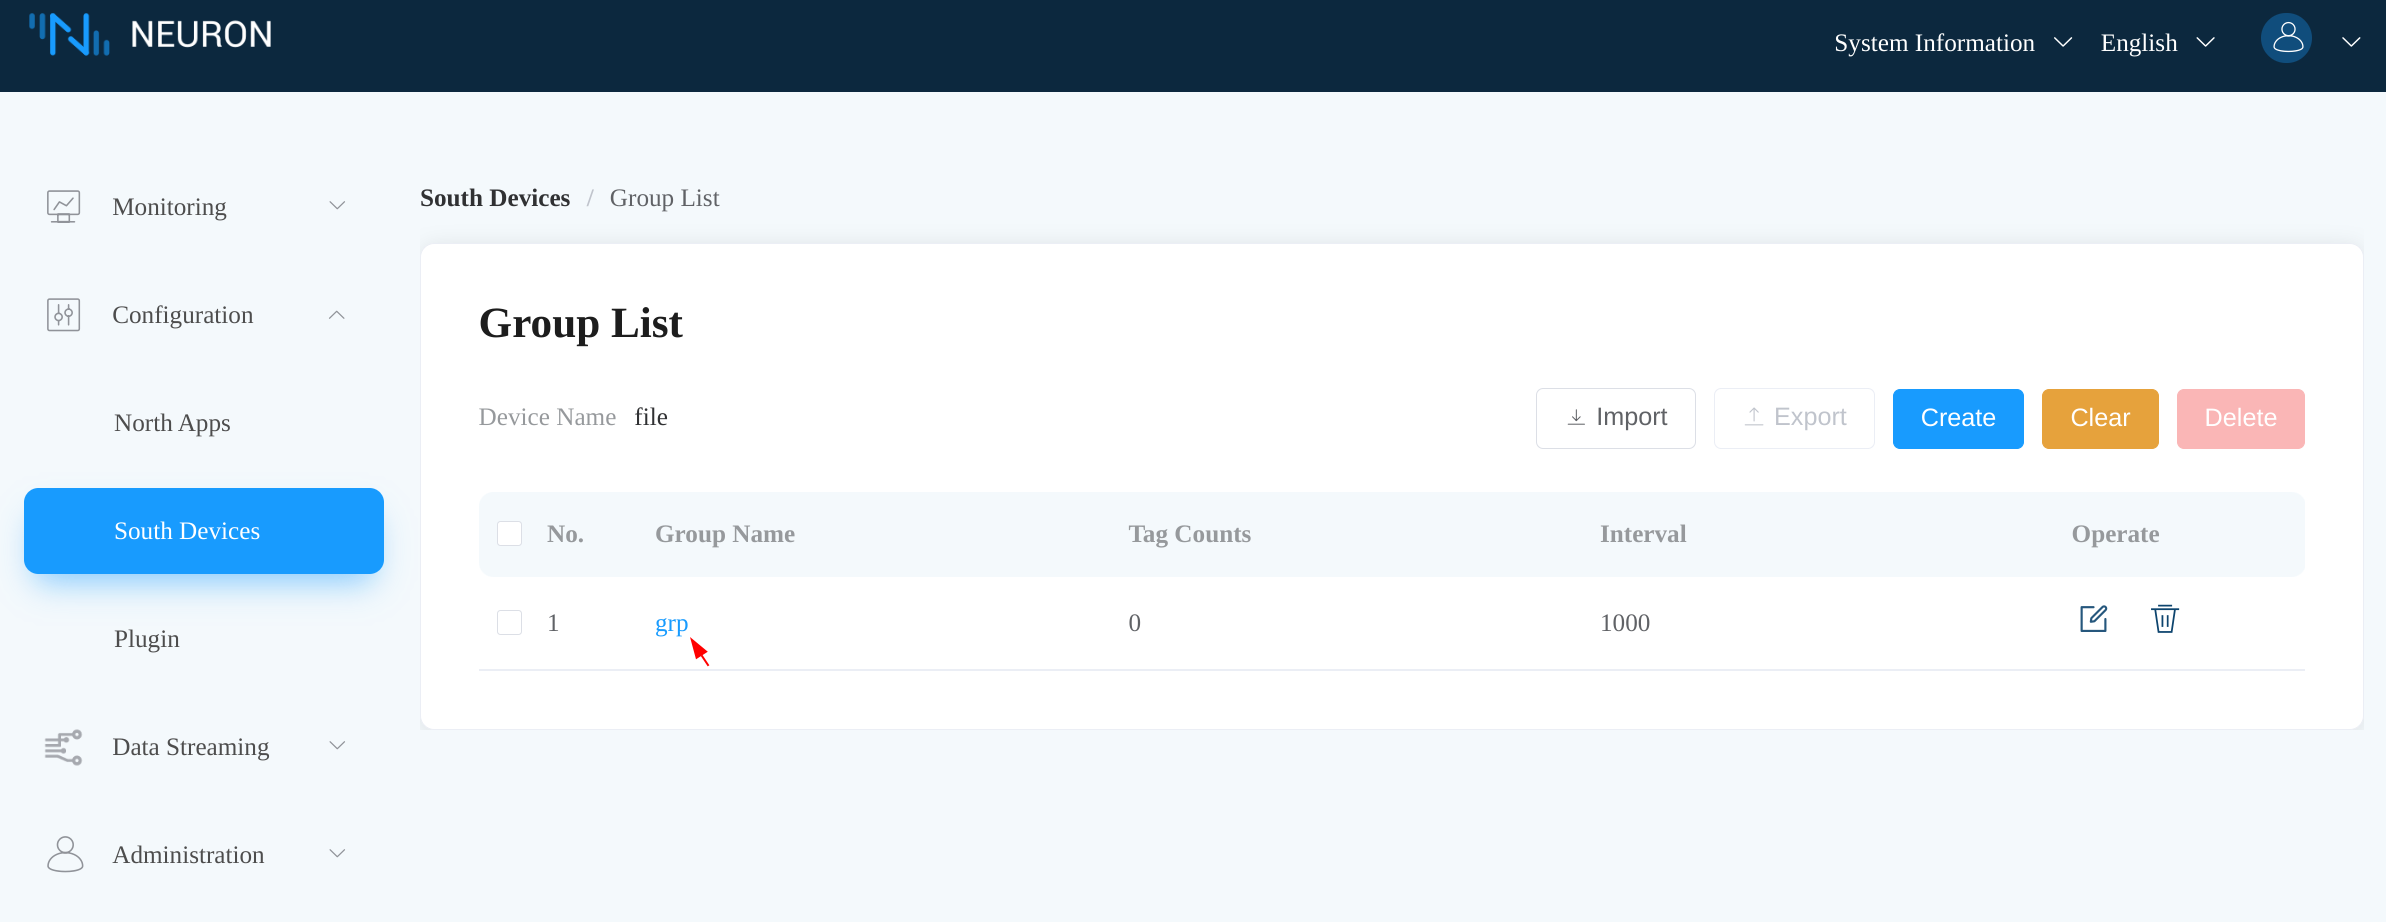
The file node should be in Connected state once configured. Click the file node to enter the Group List tab, then click Create to create a group.
We set the group name to grp and the interval to 1000.
Add Tag
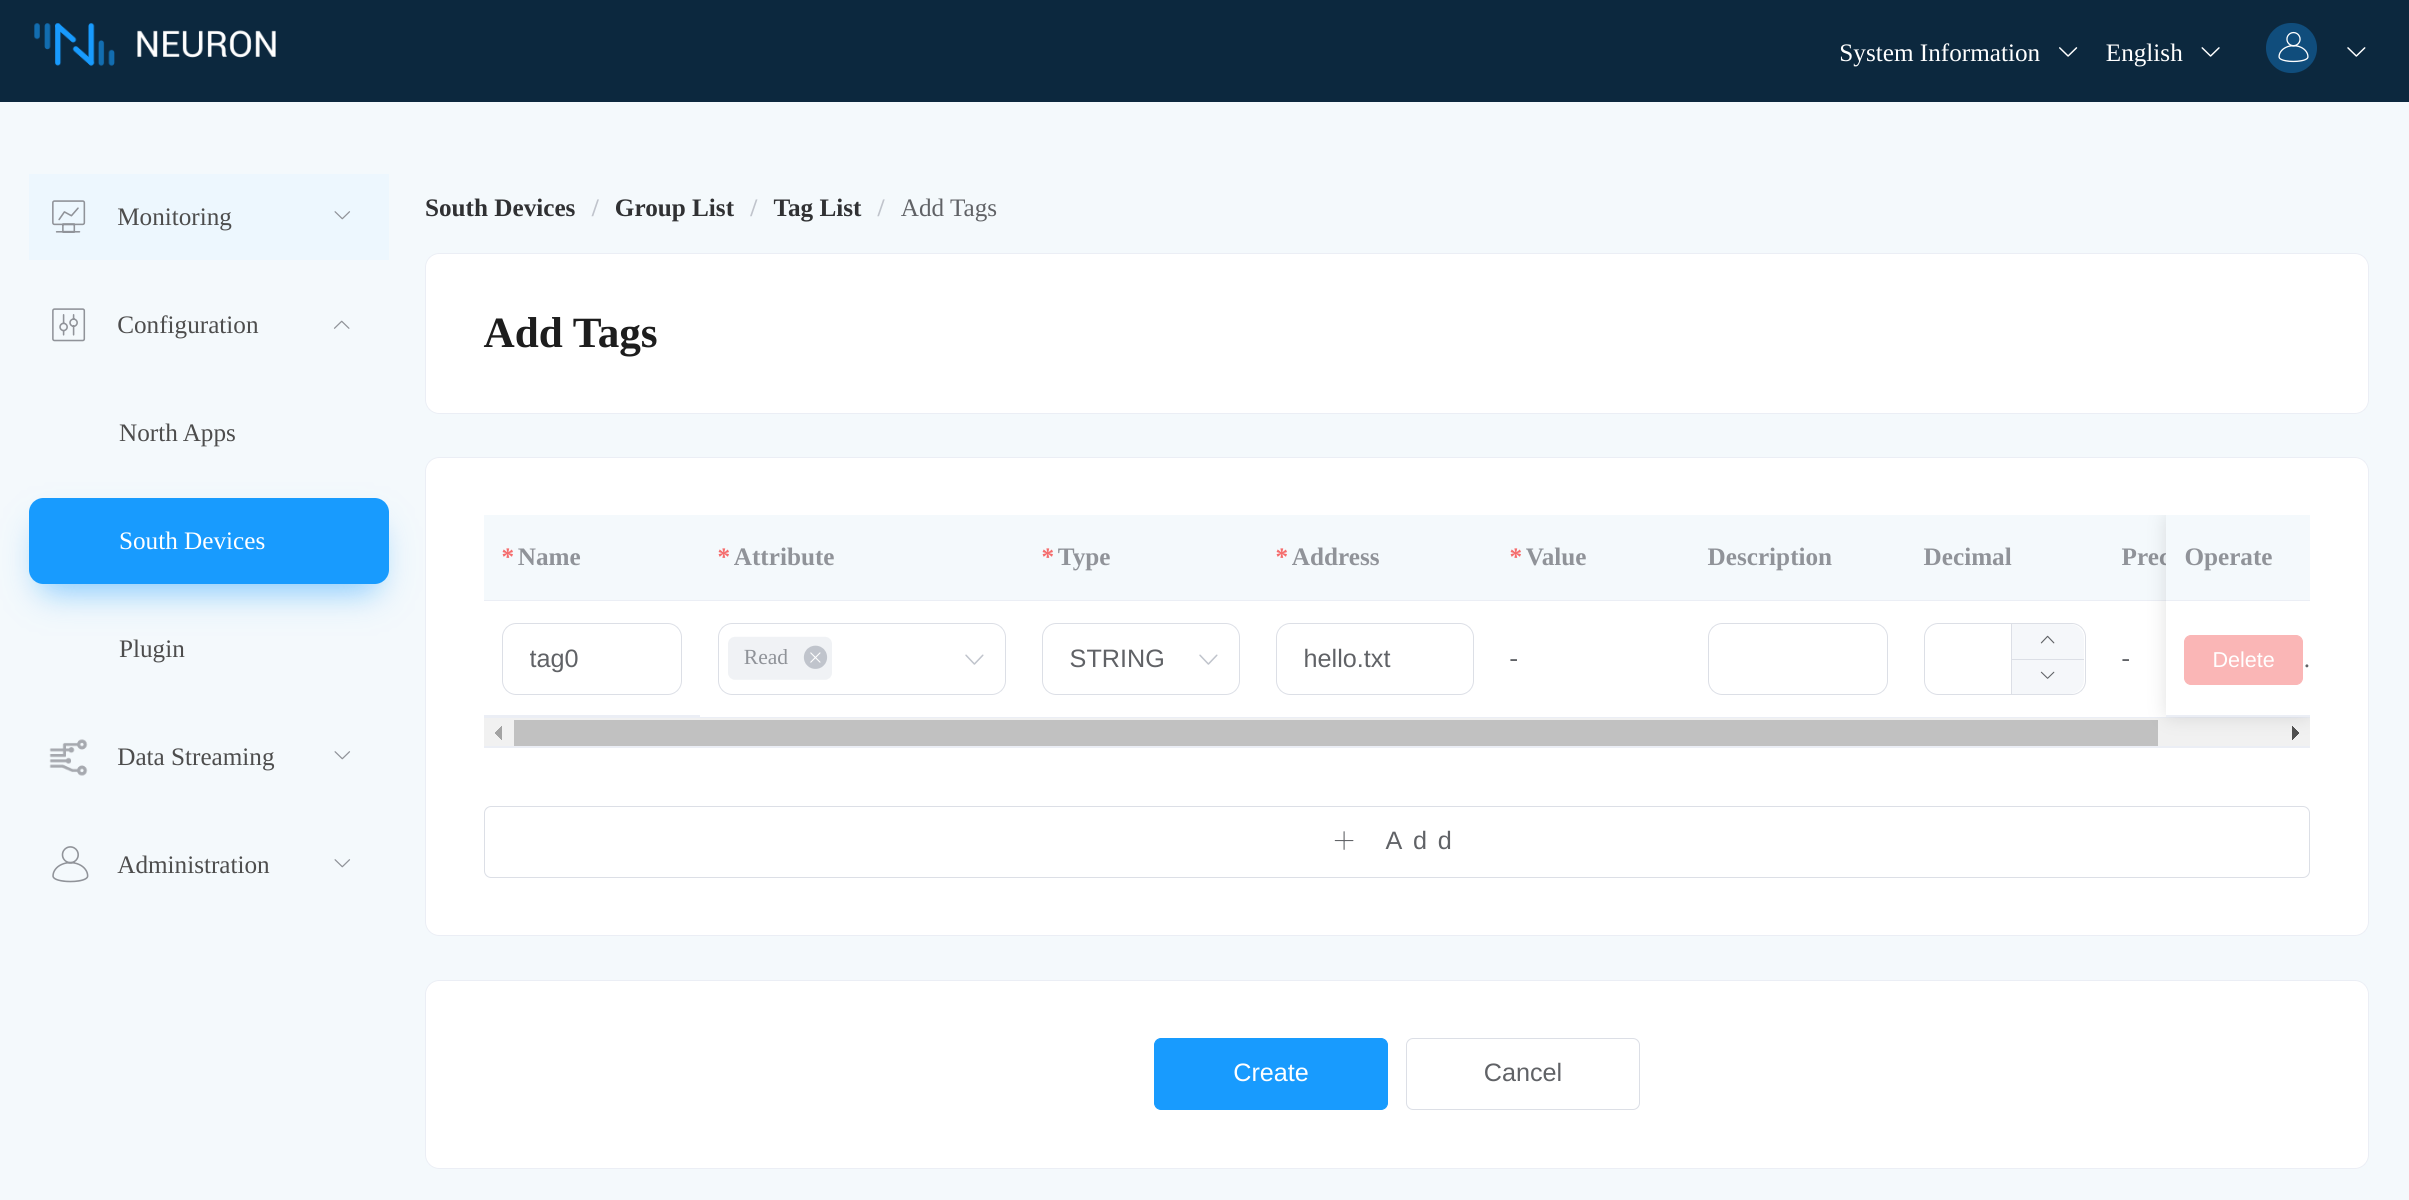
Click the created grp group to enter the Tag List tab, then click Create to create a tag.
We name the tag tag0 with type STRING. The tag address is set to hello.txt which represents the file in the working directory of the Neuron process.
North app
Add the WebSocket Node
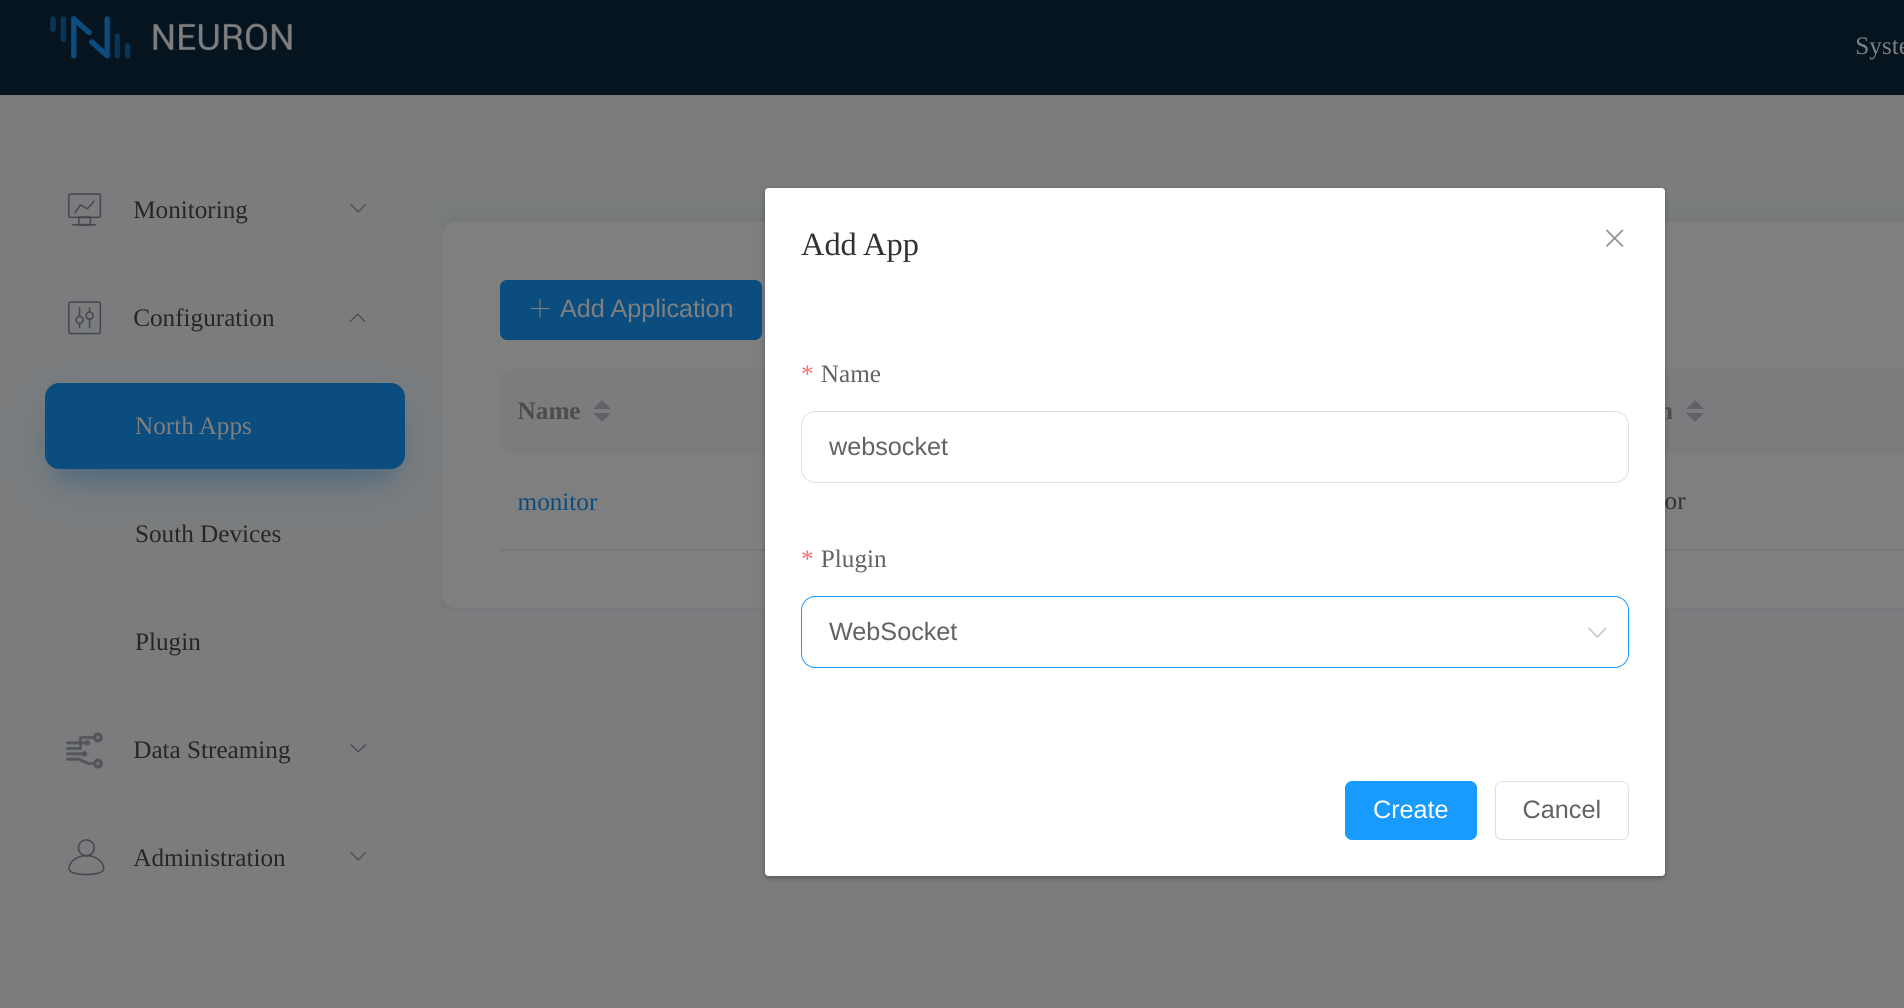
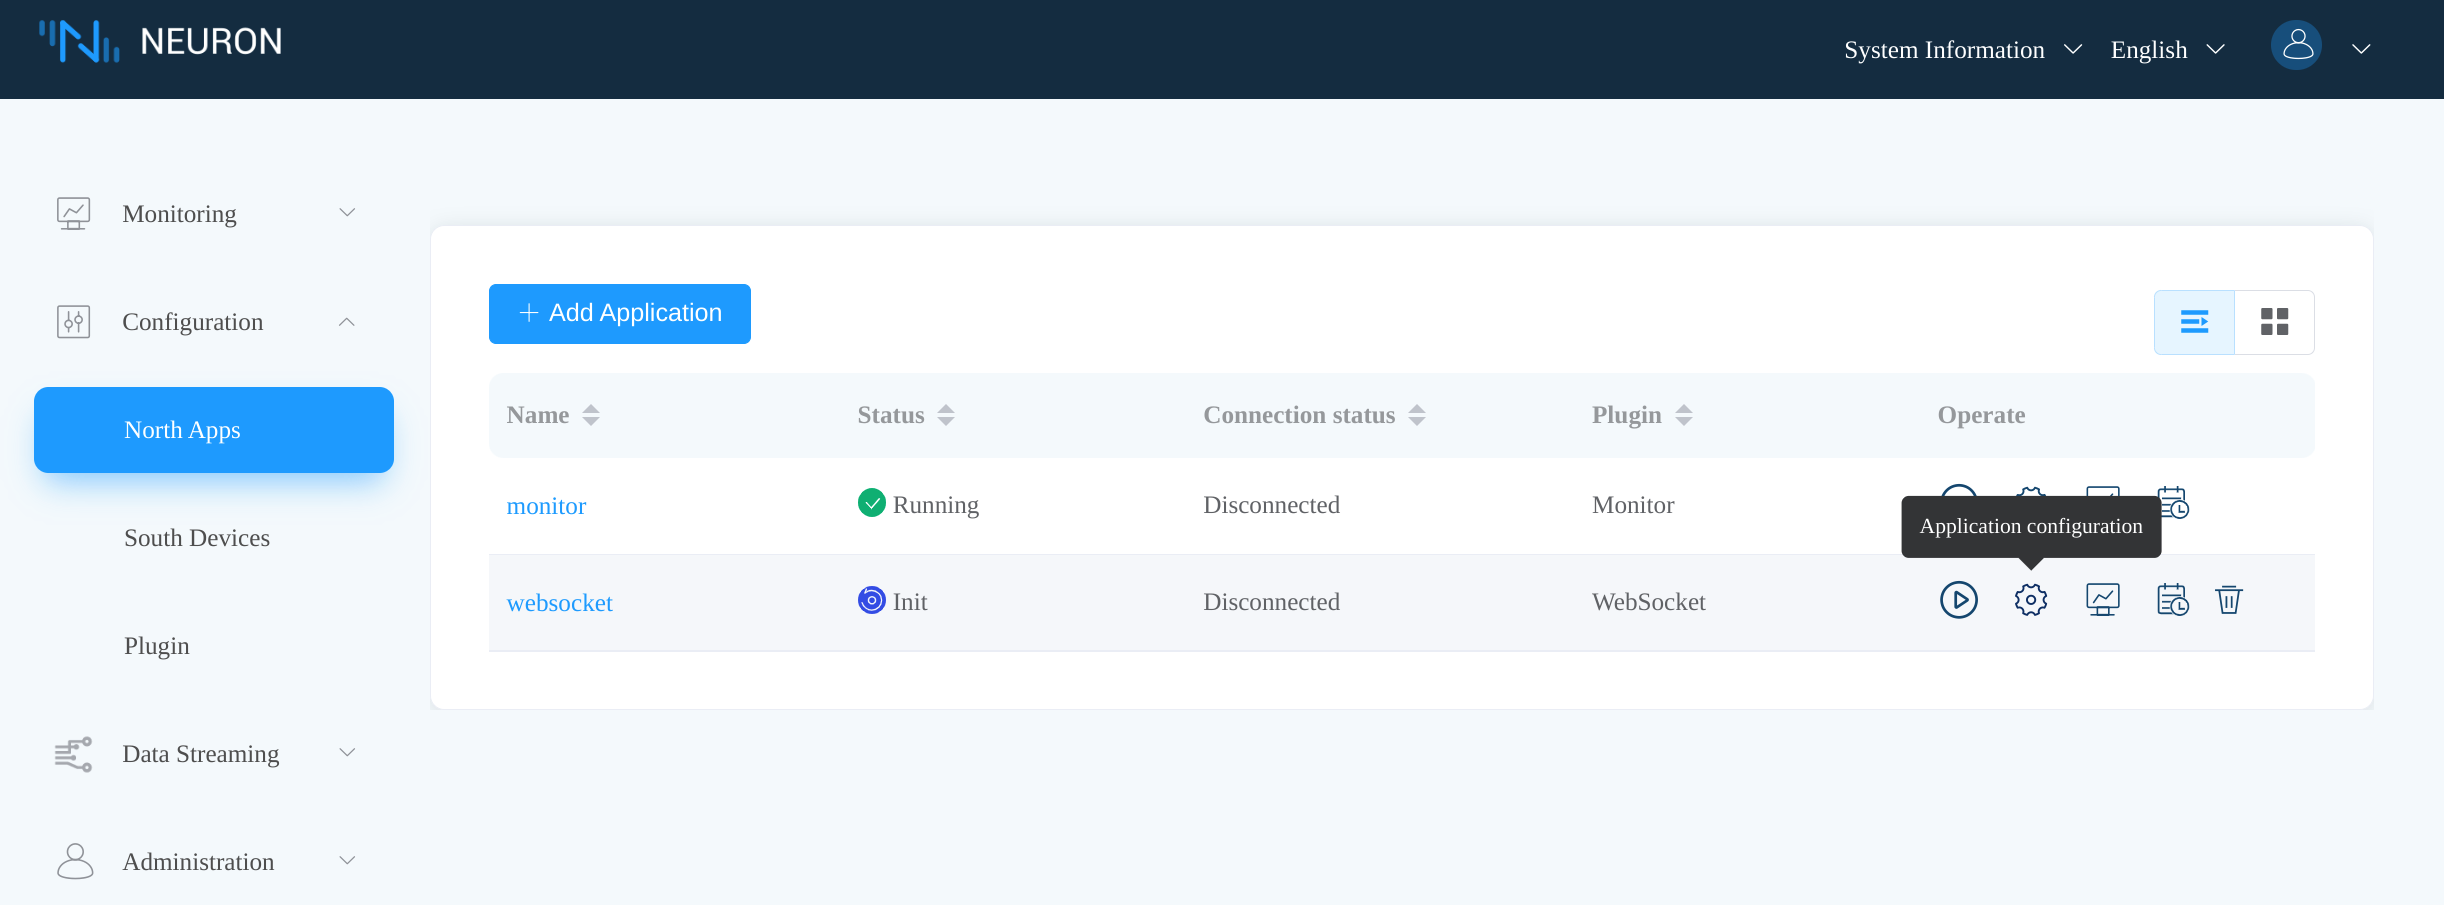
In the Neuron dashboard, click Configuration -> North Apps -> Add Application to add a node using the WebSocket plugin.
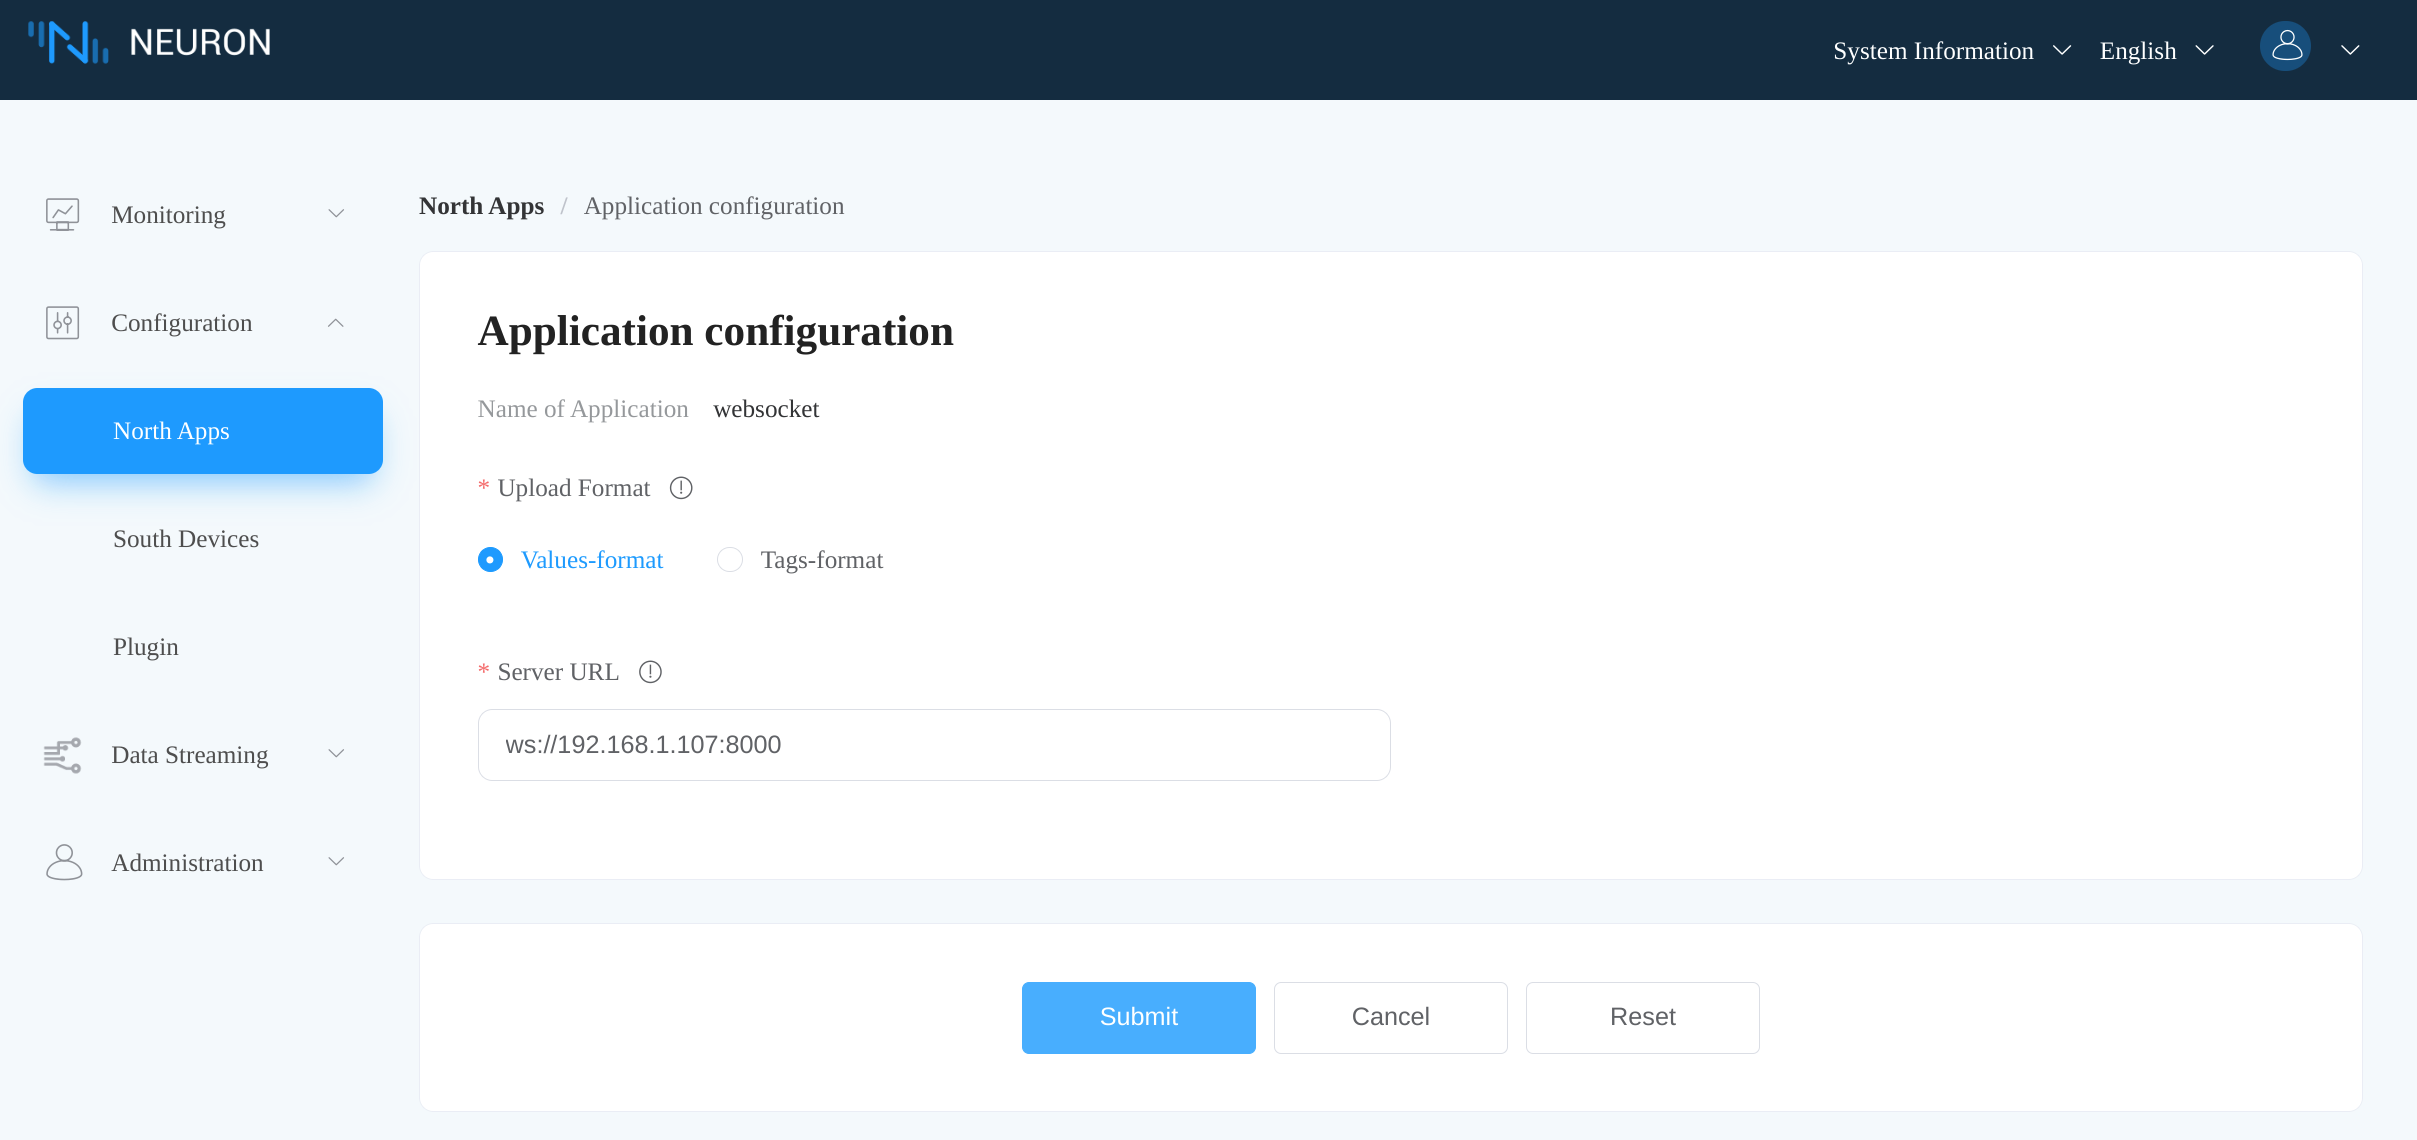
Click the Application Configuration icon to configure the WebSocket node.
We set the host parameter to 192.168.1.107 and port to 8000, which is the address of our WebSocket server.
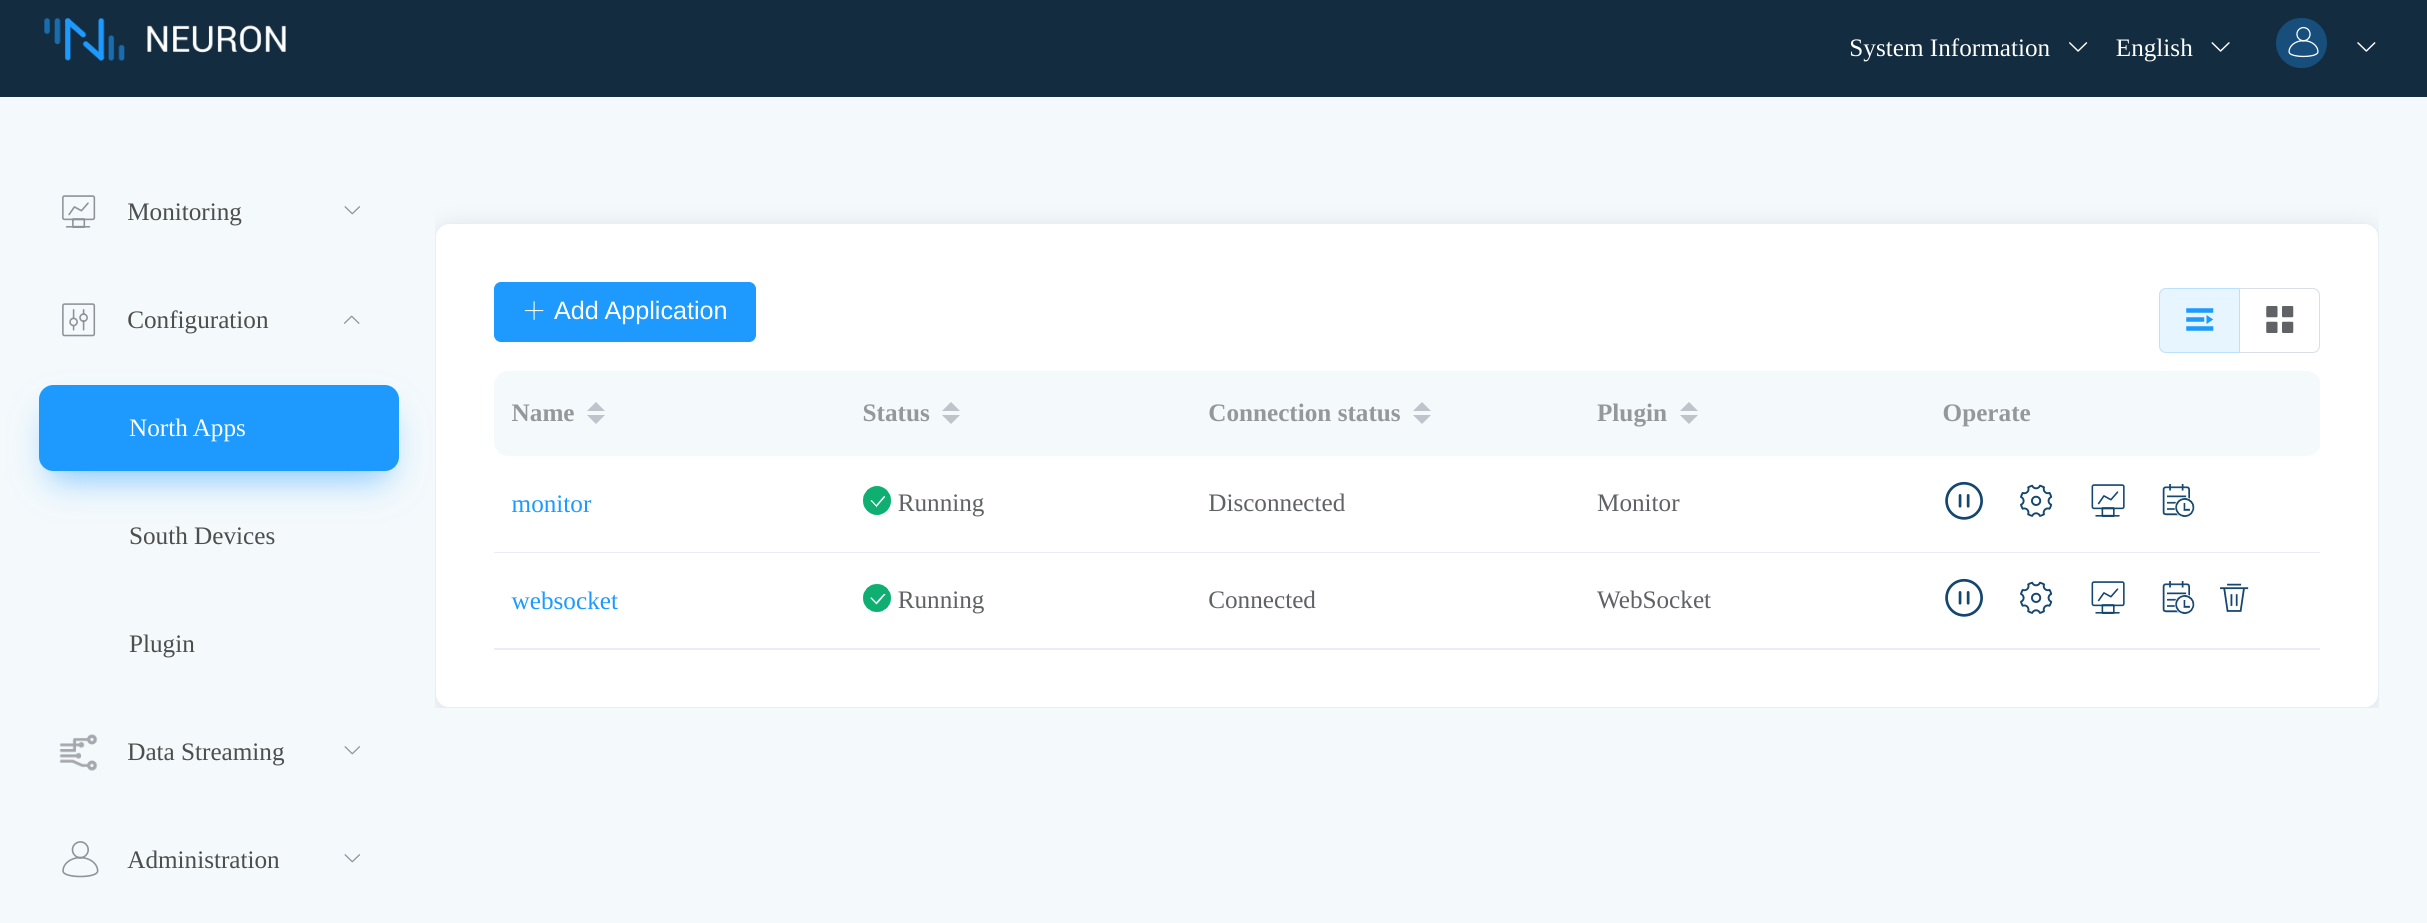
Once the configuration is submitted, the WebSocket node connects to the WebSocket server successfully.
Subscribe to the File Node
Click the WebSocket node to enter the Subscription tab. Then click Add subscription, select the file node and the grp group.

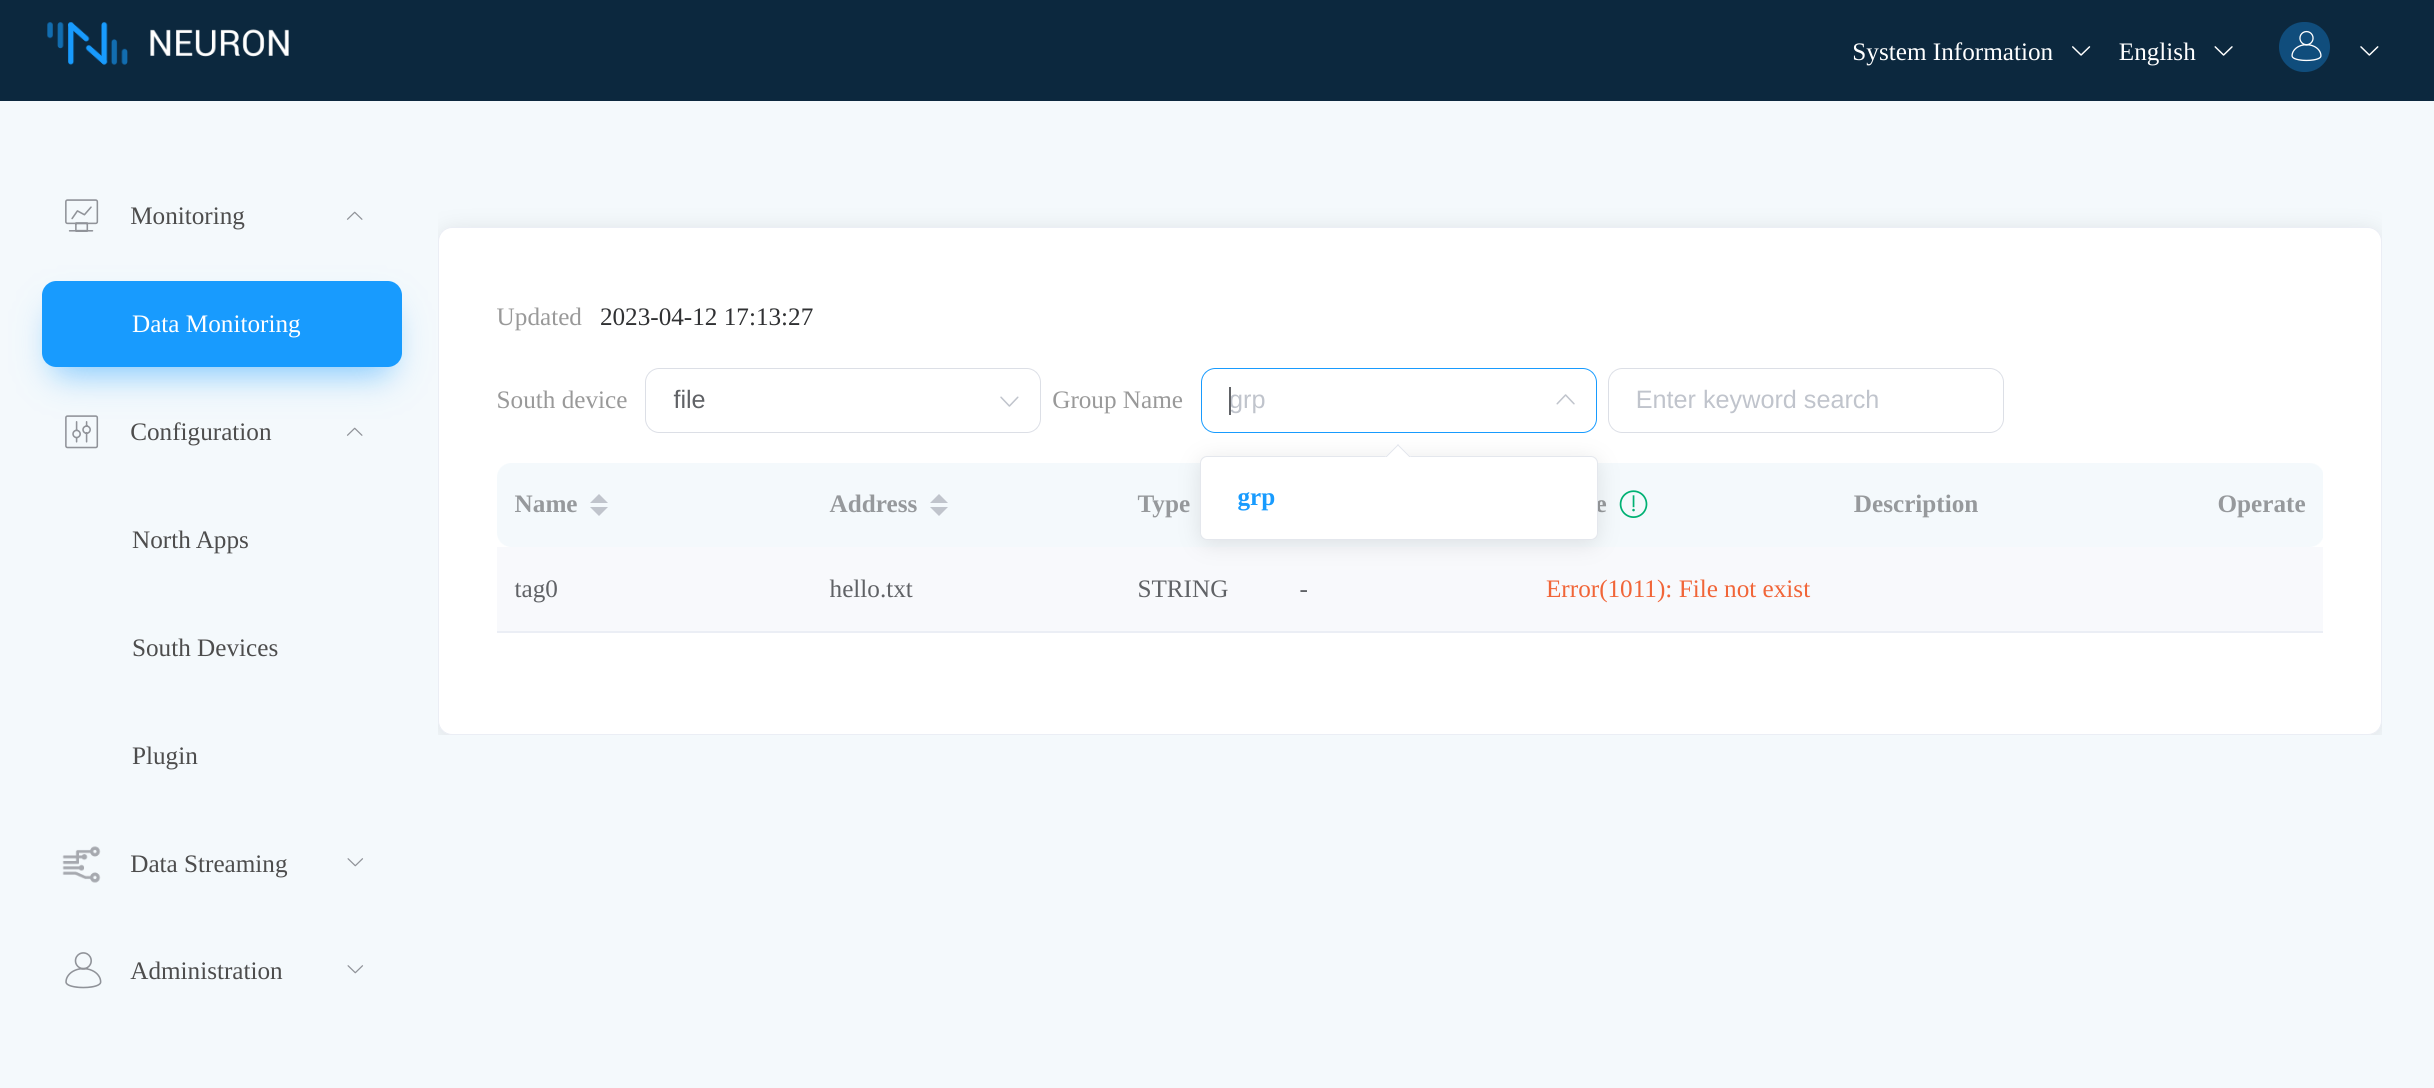
Monitor Data
After subscribing to the grp group of the file node, the WebSocket node will begin pushing data to the WebSocket server. In the Neuron dashboard, click Monitoring -> Data monitoring, then select the file node and the grp group. We see that Neuron reports an error code 1011 indicating the file hello.txt does not exist.
We can check the server output that it receives the data correctly. And sure, the received data says that tag0 encounters the error code 1011.

In the Neuron process working directory, create the hello.txt file with the content world.
$ echo world > hello.txNow we can see that Neuron updates tag0 correctly in the Data monitoring tab.
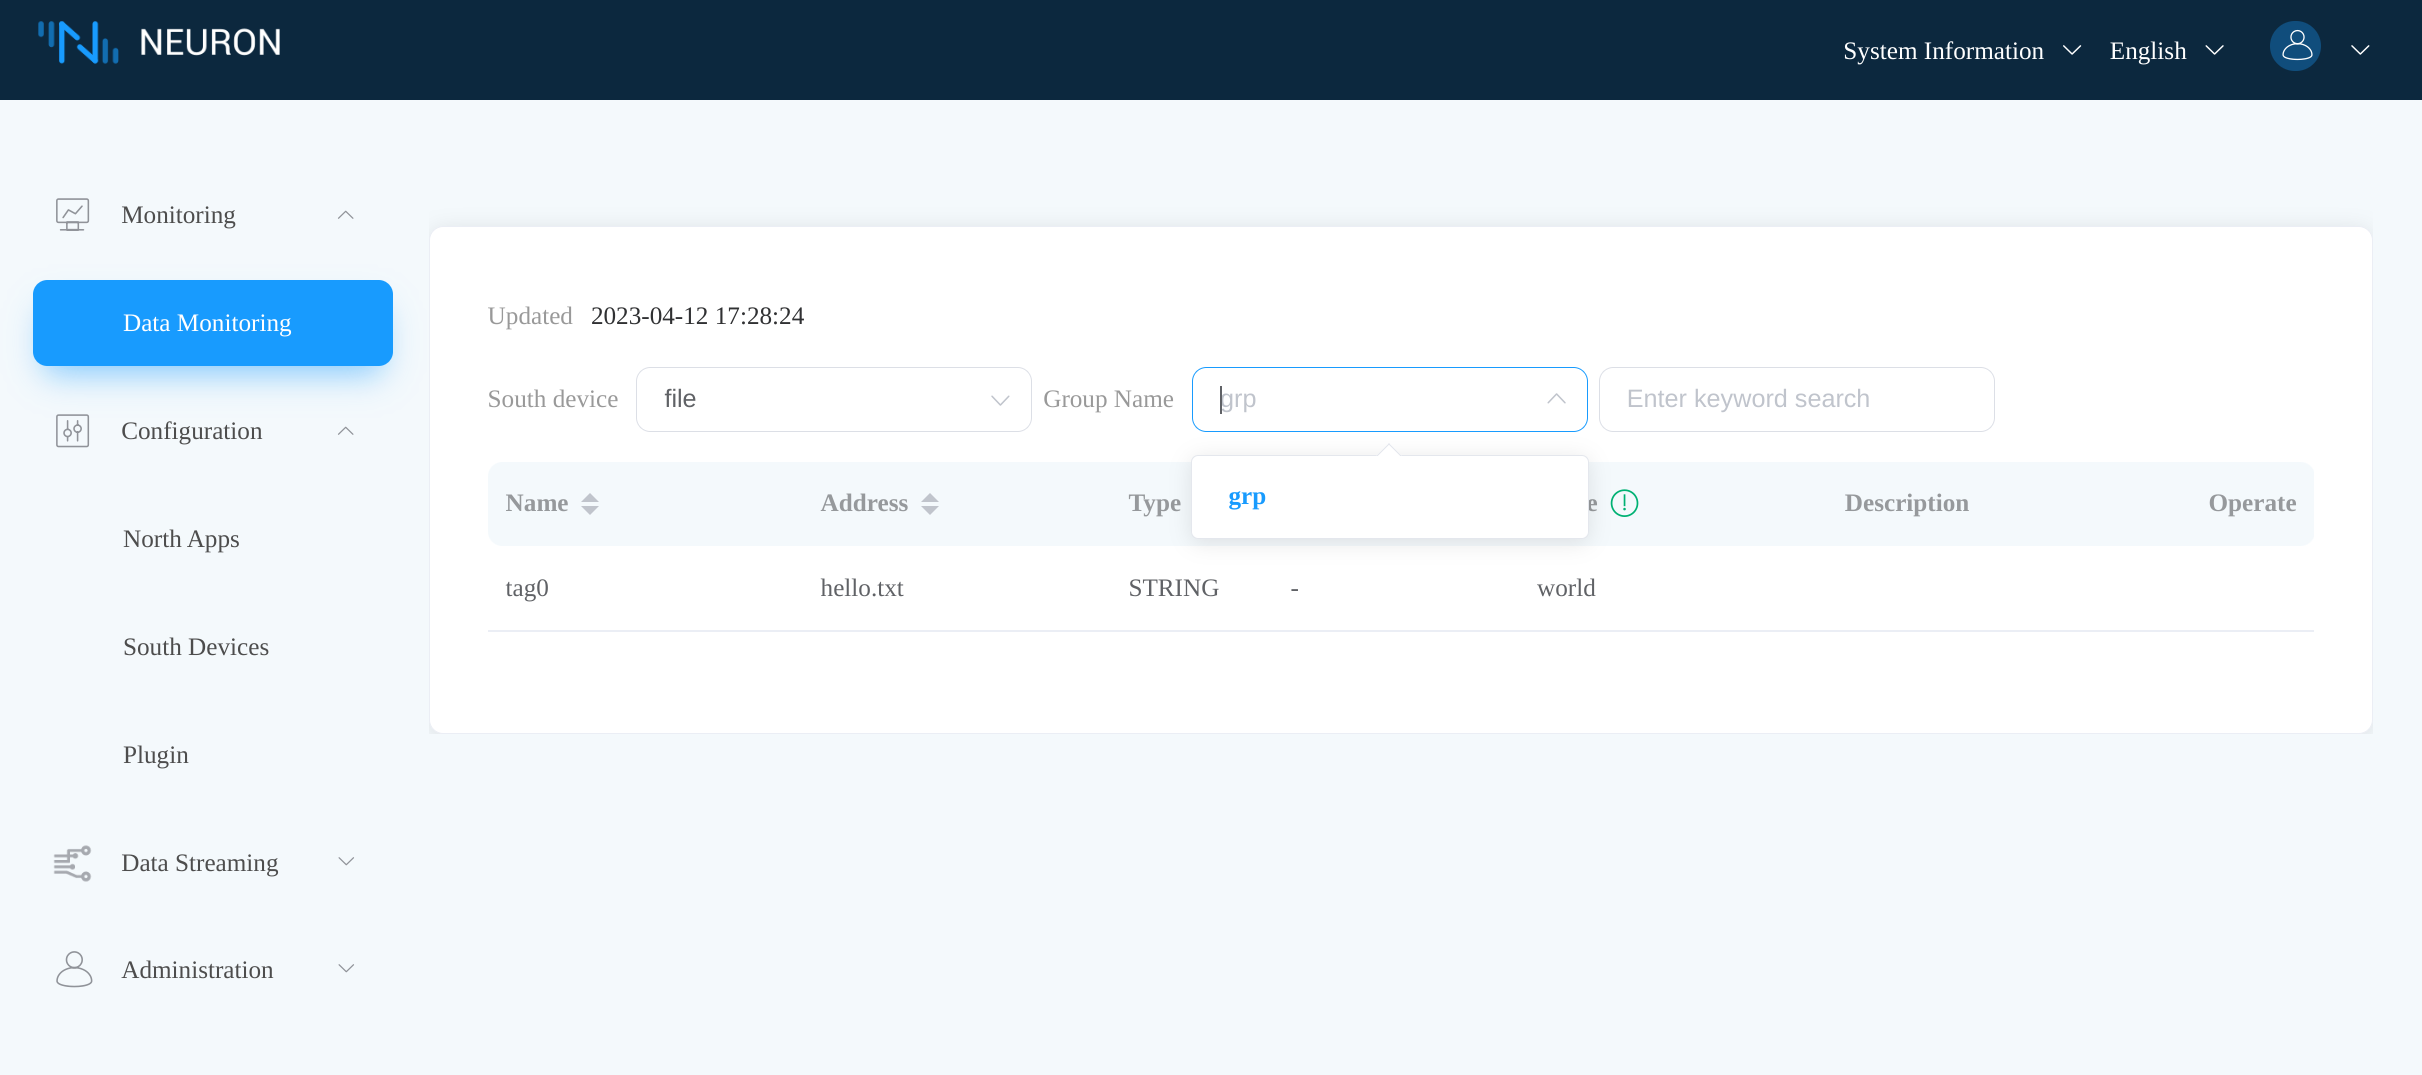
And the WebSocket server receives the correct tag data, world, which is expected.
