Connect to Ignition
Ignition is a cutting-edge industrial automation software platform developed by Inductive Automation, offering a versatile and user-friendly solution for creating and managing a wide array of industrial applications. With its open architecture, real-time monitoring capabilities, and seamless support for various industrial protocols, Ignition empowers businesses to optimize processes and increase efficiency.
To further enhance the capabilities of Ignition, the Neuron SparkPlugB plugin provides an effortless way to connect and integrate with the platform.
Install Ignition
Download the Ignition installation package from the Ignition website and install it according to the official documentation.
Download the Designer Launcher installation package from the Ignition website and install it according to the official documentation.
Download the third-party module
MQTT-Engine-signed.modlfrom the Ignition official website. Login to the Ignition web administration page, go to the Config -> Modules page, click Install or Upgrade a Module... and installMQTT-Engine-signed.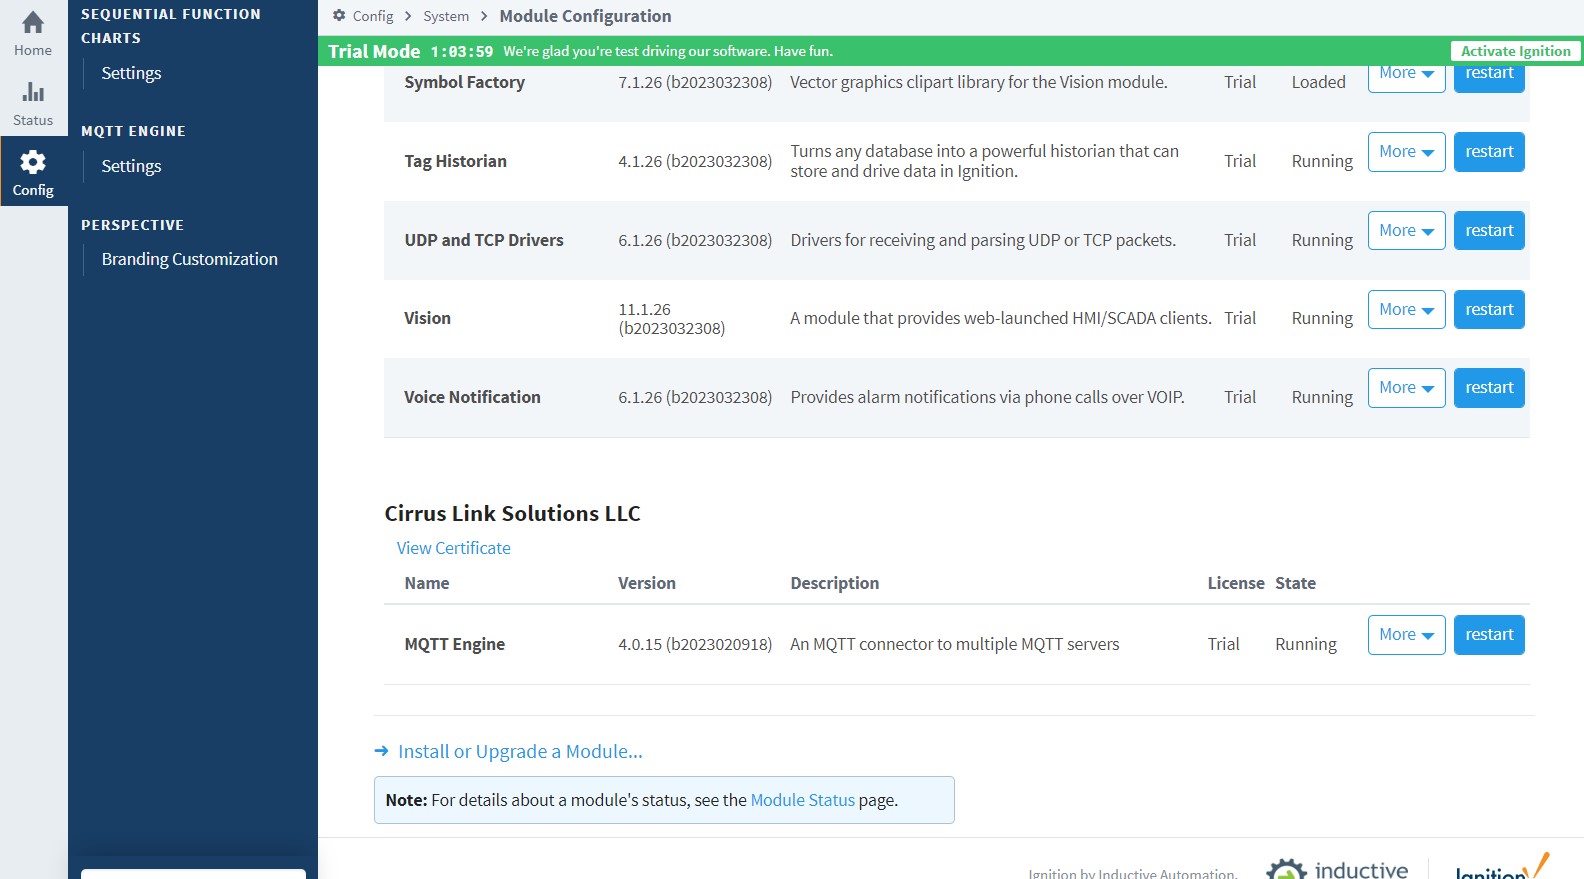
Start an EMQX broker instance locally with the start command:
./bin/emqx startOpen Config -> MQTT ENGINE/Setting -> Servers -> Setting, click Create new MQTT Server Setting... Create a connection with Name as EMQX, URL set to
tcp://localhost:1883. Click Save Changes to save the settings.
Configure Neuron
Southbound Device
This section assumes that the southbound OCP UA plugin has been installed, the group and point configurations are complete, and communication with Neuron functions normally. For details on the installation and configuration of the OCP UA plugin, refer to the OCP UA section.
Northbound Application
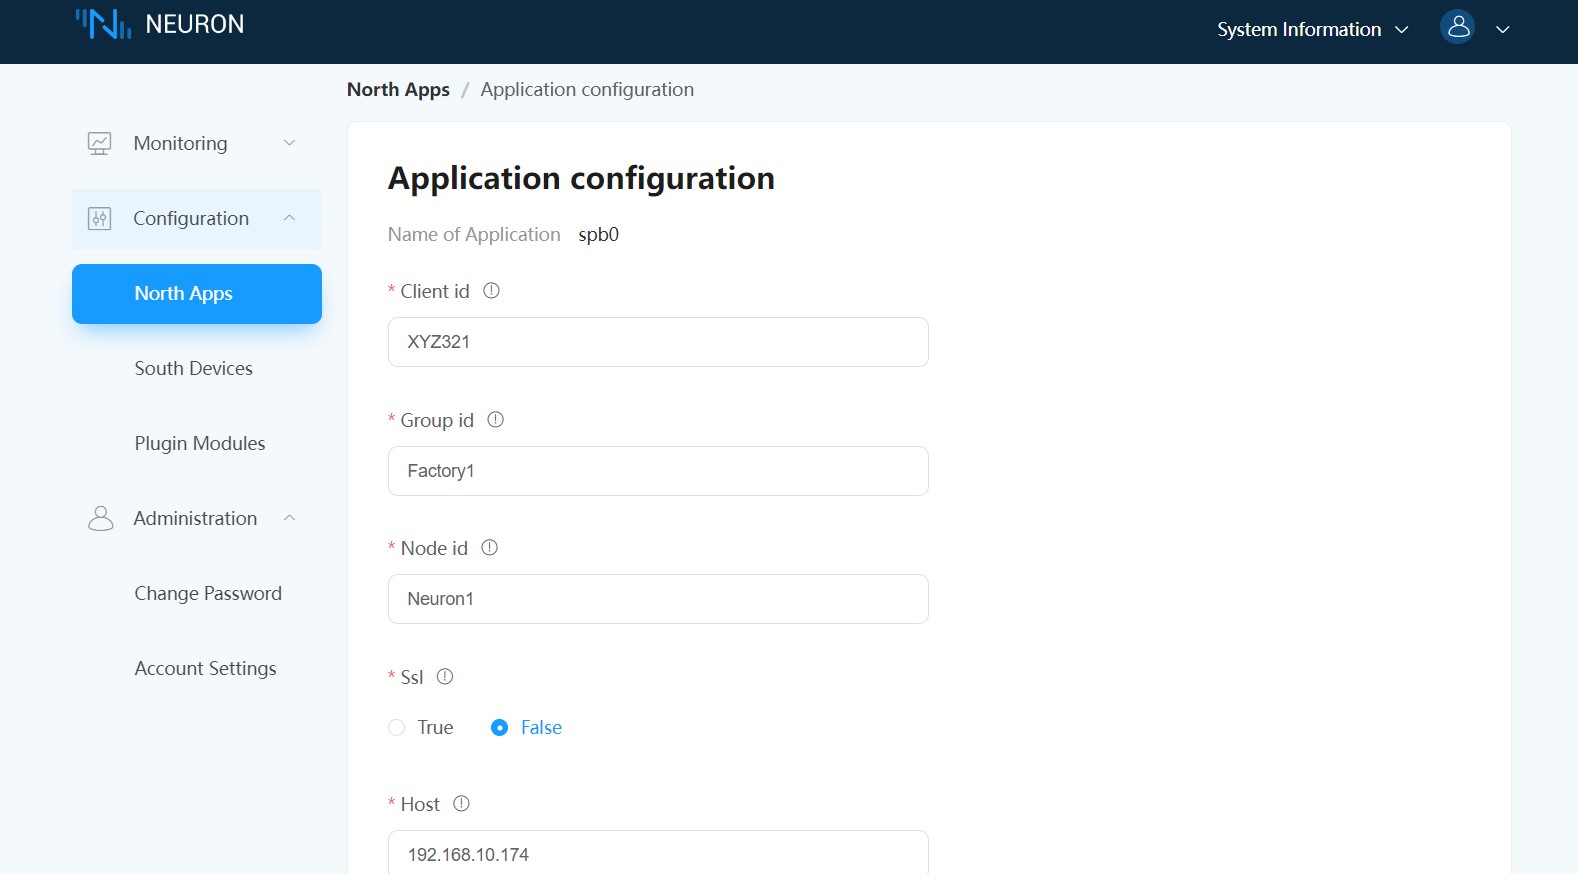
Add a Sparkplug B application to the Neuron Northbound Apps.
Fill in the Client ID, Group ID, Node ID, Server Address, and Server Port in Application Configuration, click Submit and start the connection.
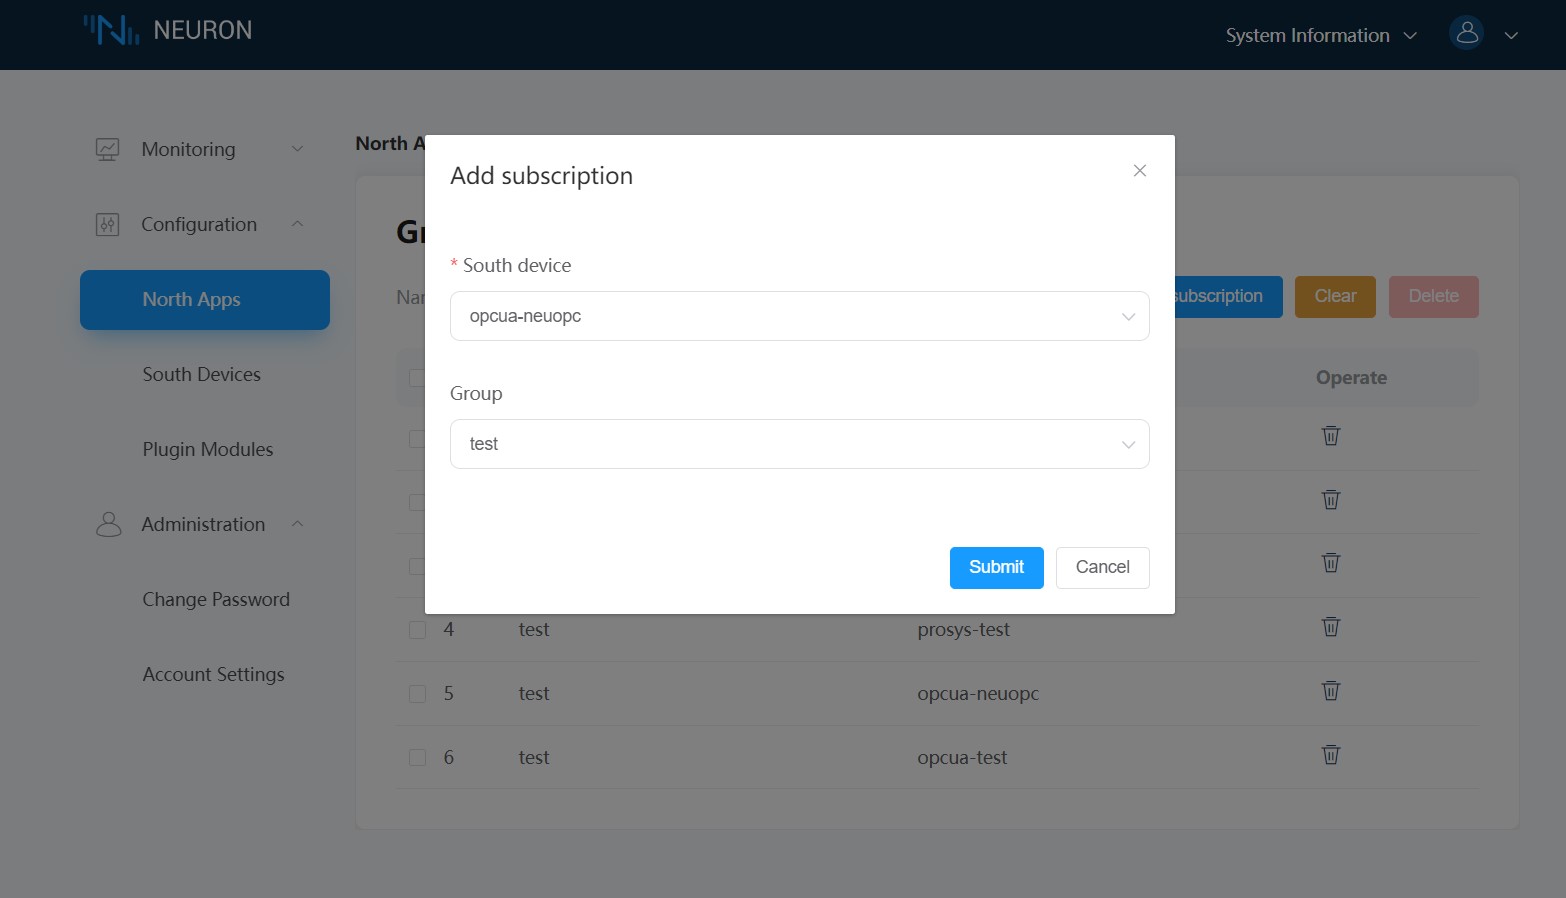
Add the Southbound devices and Groups to the group list that you want to subscribe to.
View Data Forwarding
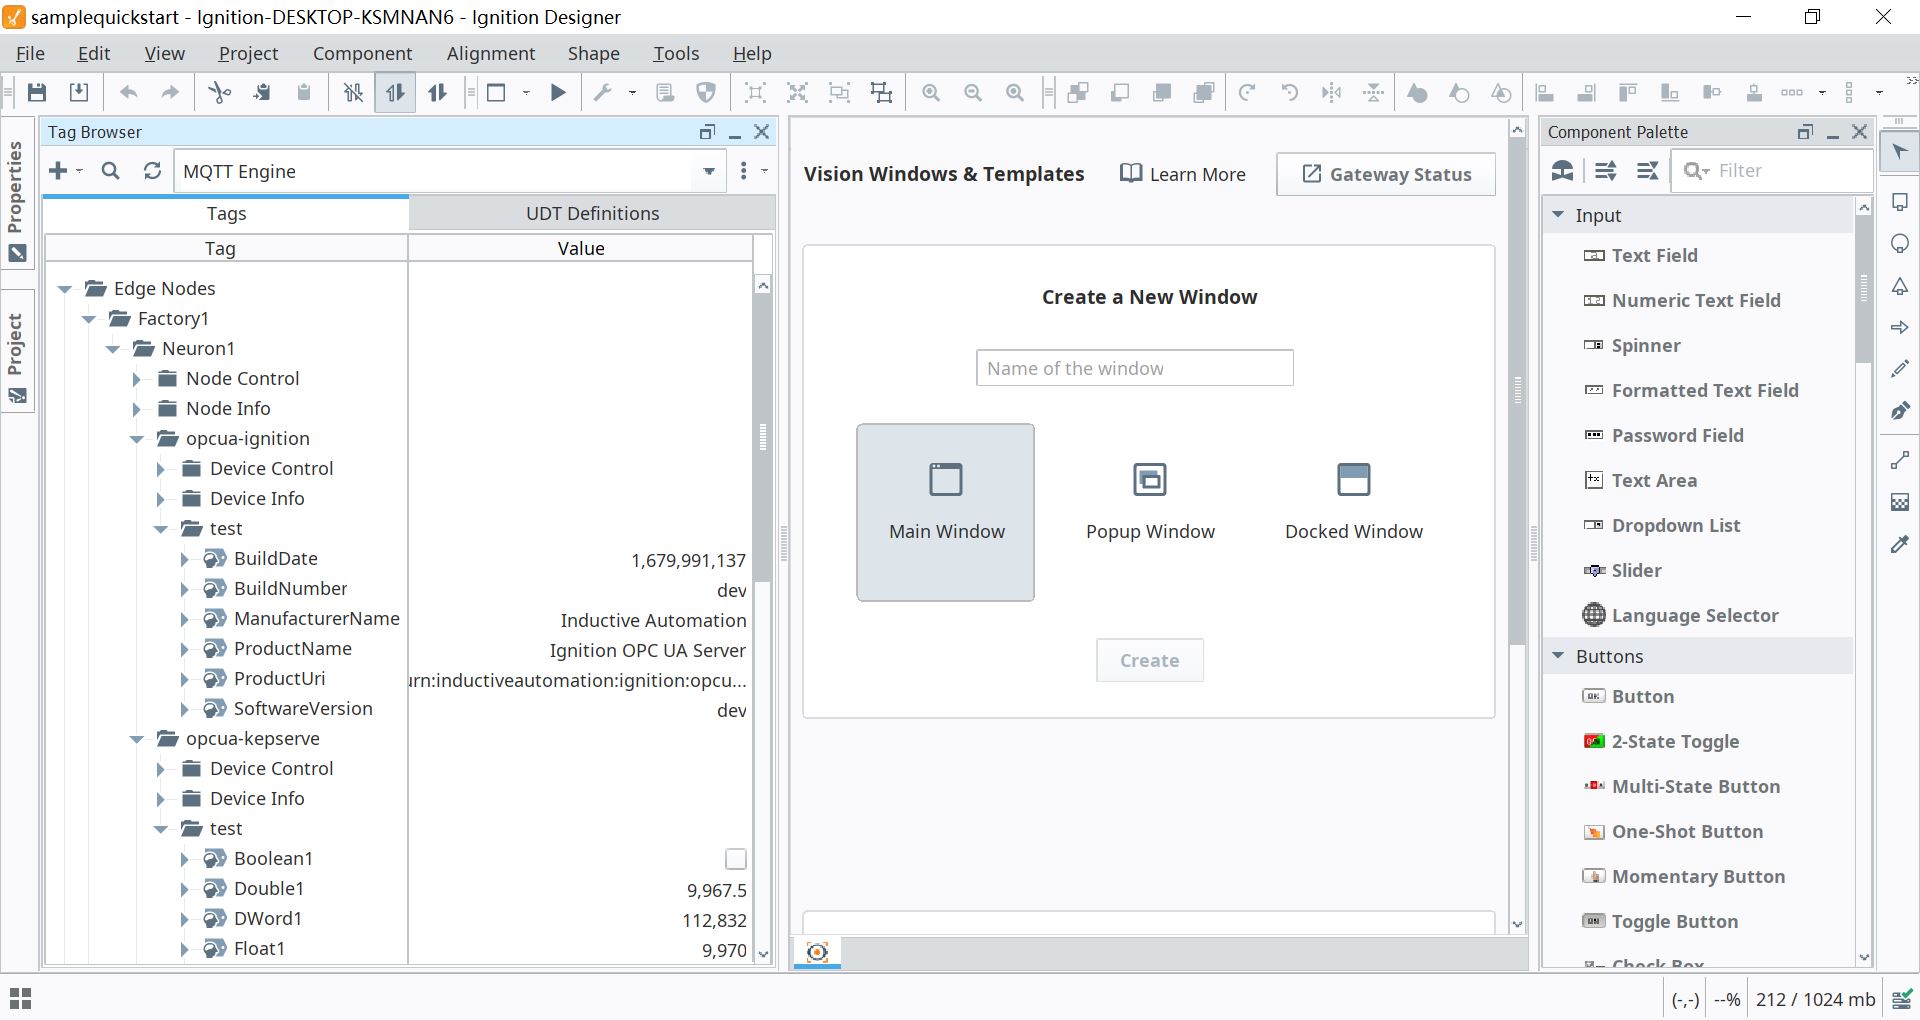
Open the Desiger Launcher desktop icon and click Add Designer to add the installed Ignition server URL.
After connecting to the Ignition server, open samplequickstart.
Find Tag Browser in the software interface and select MQTT Engine, expand Edge Nodes\Factory1\Neuron1\opcua-kepserver\test to see the instantly uploaded measurement point data.